Let’s learn the different Microsoft Office 365 Online and Quick Repair processes. We may all be facing problems like; you are working on a document, a spreadsheet, or any MS Office application. Any of the applications starts some weird response, or it stops responding.
In Microsoft 365, an application such as MS Word or MS Excel is not working correctly many times; restarting your device will fix the issue raised. If the restarting process is not work, there is nothing to panic about or worry about.
This type of situation occurs from time to time, you can try the repair process, and it is easy most of the time. In Microsoft Office, there are two types of Repair available. One is Quick Repair in Microsoft Office, and another is Online Repair. Try those settings to restore your Microsoft Office issues.
Once you have repaired, you need to restart your device. I share the Microsoft Office application’s Quick and Online repair process in this post. The step-by-step instructions/guidelines are discussed for your easy understanding.
- Microsoft Teams New Features Early 2023
- New Azure Virtual Desktop App in the Microsoft Store Winget and Intune
What are Microsoft Office Online and Quick Repair?

Microsoft has built-in features for its repairing process; one is online Repair which requires an internet connection to execute the repairing process. The second one is Quick Repair which does not require an internet connection to perform the repair process.
Microsoft Office Online and Quick Repair Tools
When you face any problem with any Microsoft Office products such as Word, Excel, PowerPoint, etc., you need to repair those by restarting your device; if it doesn’t work, you need to run the Microsoft Office online and a quick repair tool.
Let’s discuss both procedures one after another, starting with the offline process as a Quick Repair tool and then moving to the online repair tool.
Microsoft Office Quick Repair Tool
Office installations include a built-in repair tool, and that’s the first thing to do when any issue arises in the office application. The quick repair tool fixes most issues quickly without needing an internet connection. Let me explain how to do this.
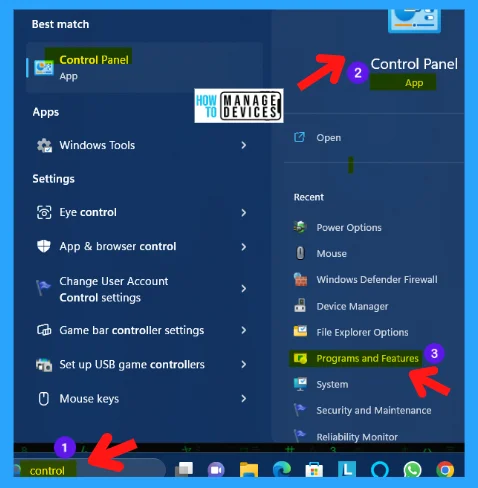
Type Control in the Search box on Taskbar on your device; on the right side, the application shows its options. Scroll down and select Programs and Features. Then find the Microsoft Office application (any version you are using, here, I am showing Microsoft 365).
Right-click on the Microsoft Office application; Uninstall and Change are two options. Select the Change option to start the repair process. Uninstallation is used to remove the application from your device.
- Uninstall
- Change

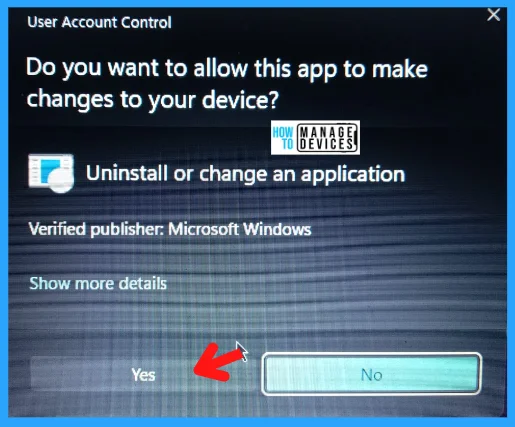
After clicking on the Change options, a pop window as User Account Control appears, then click Yes and continue the process, where it asks, “Do you want to allow this app to make changes to your device?“.
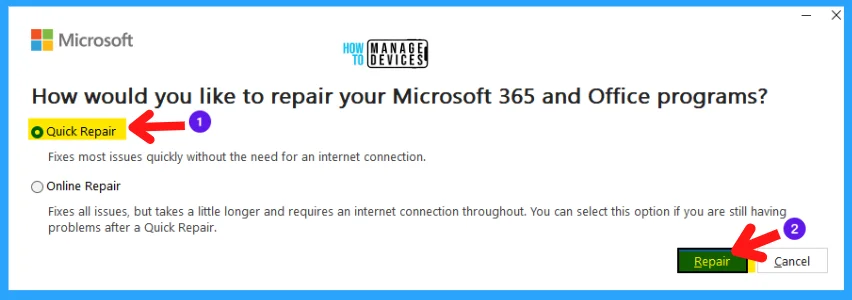
After giving the administrative permission, another pop-up appears with two options: Quick Repair and Online Repair. This pop-up asks, “How would you like to repair your Microsoft 365 and Office programs?“. Select Quick Repair and click on the Repair option and continue.
- Quick Repair
- Online Repair
When you click Repair, another pop-up window appears: “Ready to start a Quick Repair?“. This Repair should not take very long, but you won’t be able to use your Microsoft 365 (any MS Office version) and Office programs until the Repair is done. Click on Repair to start over.
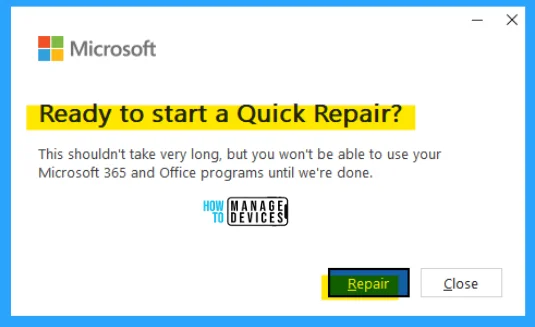
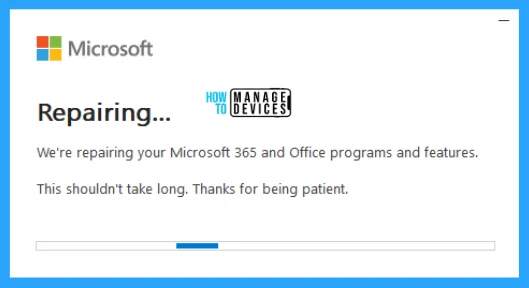
After clicking on Repair, the Repair starts, as shown in the image below. It will take only a few minutes to perform the repair task. Be patient and wait until the Repair is done.
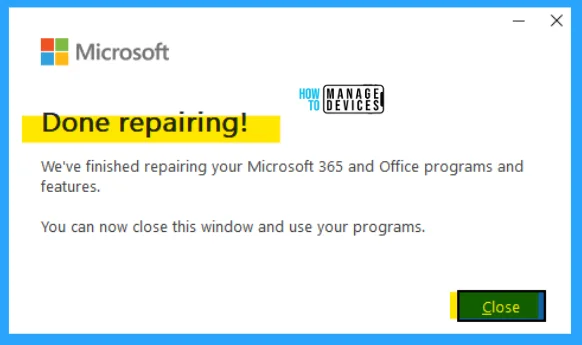
When the Repair starts, all your Microsoft products closed automatically. Now Microsoft finished repairing Microsoft 365 and Office programs and features, and the message “Done repairing.” You can now close this window and use your programs.
NOTE! During the repair process, you cannot use any Microsoft Office applications.
Microsoft Office Online Repair Tool
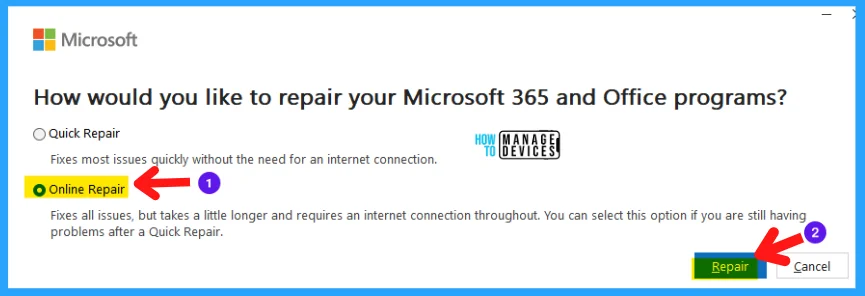
The Microsoft Office Online Repair Tool required a network connection to obtain the repair steps. To operate, follow the actions of the Quick Repair tool as shown in Fig. 2, Fig. 3, & Fig. 4 above. Now choose the Online Repair option and press the Repair button.
If you can not see any result in the Quick Repair tool, the online Repair fixes all issues but takes a little longer and requires an internet connection. You can select this option if you still have problems after quick Repair.
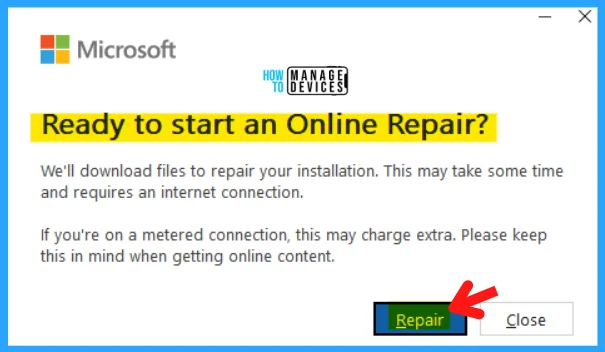
When you click on Repair, the next pop-up window appears as “Ready to start an Online Repair?” which works to download files to repair your installation. This may take some time and requires an internet connection. If you are on a metered connection, this may charge extra. Please keep this in mind when getting online content and clicking on Repair.
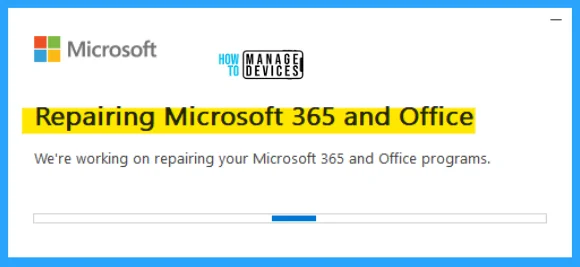
After clicking the repair button, the Repairing Microsoft 365 and Office are working on repairing your Microsoft 365 and Office programs.
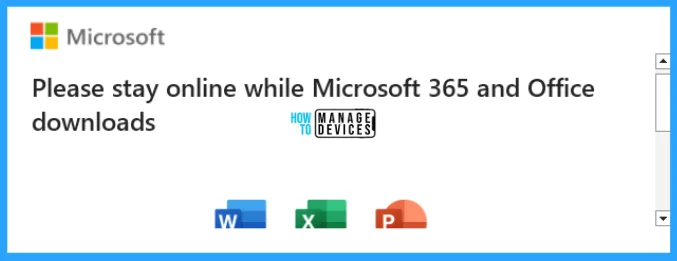
After a few times, Microsoft started downloading the required files to fix issues with your device. The message is shown as “Please stay online while Microsoft 365 and Office downloads“. And it continues to download your required files.
When all the downloading is completed, it starts to install the files if there is an issue. I started updating the Microsoft Office, and the message showed, “You are all set!“.

I hope the information on Microsoft Office Online and Quick Repair is helpful. Please follow us on HTMD Community and visit our website HTMD Forum if you like our content. Suggest improvements, if any, and we love to know which topic you want us to explore next.
Author
Alok is a Master of Computer Applications (MCA) graduate. He loves writing on Windows 11 and related technologies. He likes to share his knowledge, quick tips, and tricks with Windows 11 or Windows 10 with the community.
