Let’s learn how to use the Microsoft Support and Recovery Assistant aka Microsoft SaRA in Windows to troubleshoot and diagnose Office, Office 365, Microsoft 365, Outlook, and Windows issues for your account in Windows 10, or Windows 11.
The Microsoft Support and Recovery Assistant (SaRA) works by running tests to figure out what’s wrong and offers the best solution for the identified problem. It can currently fix Office, Office 365, Outlook, and Windows problems.
The Microsoft Support and Recovery Assistant offers the best solution for these identified problems:
- Office
- I get an error when I install Office
- I can’t activate Office
- I need to uninstall Office
- Outlook
- Outlook won’t start
- Outlook stops responding
- Outlook keeps crashing
- I can’t setup my Microsoft 365 email in Outlook
- Outlook keeps asking for my password
- Outlook keeps saying “Trying to connect…” or “Disconnected”
- Shared mailboxes or shared calendars don’t work
- I’m having problems with my calendar
- I can’t send, receive, or find email
- OneDrive for Business
- I can’t sync my files with OneDrive
- I can’t install OneDrive
- Other Office apps
- The Teams Meeting option isn’t shown or the Teams Meeting add-in doesn’t load in Outlook
- I can’t sign into Skype for Business
- I can’t get email on my phone
- I’m having trouble opening or signing in to Outlook on the web
- I can’t install, connect, or enable Dynamics 365 for Outlook
If the Microsoft Support and Recovery Assistant can’t fix a problem for you, it will suggest the next steps and help you get in touch with Microsoft support.
- How to Download Microsoft Office 2021 for Windows 11
- Fix Error 0x8007139f Failed Launching Office Customization Tool Issue SCCM
- Repair Microsoft Office Applications in Windows 11 | Fix Error Code 0-2031 17006
System Requirements – Microsoft SaRA
The following operating systems are supported –
- Supported Operating System
- Windows 7
- Windows 8
- Windows 8.1
- Windows 10
- Windows 11
Outlook in any of the following Office versions can be scanned:
- Microsoft Office 365 (2019, 2016, or 2013, 32-bit or 64-bit)
- Microsoft Office 2019 (32-bit or 64-bit; Click-to-Run or MSI installations)
- Microsoft Office 2016 (32-bit or 64-bit; Click-to-Run or MSI installations)
- Microsoft Office 2013 (32-bit or 64-bit; Click-to-Run or MSI installations)
- Microsoft Office 2010 (32-bit or 64-bit)
Note – If you are running any edition of Windows 7, you must also have .NET Framework 4.5 installed. Windows 8 and later versions of Windows include at least .NET Framework 4.5.
Download Microsoft Support and Recovery Assistant SaRA
Let’s follow the steps to download and use Microsoft Support and Recovery Assistant (SaRA) in your affected system.
Download the Microsoft Support and Recovery Assistant (SaRA)
Note – You’ll need an internet connection to download, install, and use the Microsoft Support and Recovery Assistant.
Installation Step Microsoft Support and Recovery Assistant SaRA
Once you have downloaded the SaRA.zip file, unzip the file into any folder location (e.g., local path or shared network folder).
Double-click SaraSetup.exe to start the SaRA installation.

The setup will validate the requirements and prompt. Do you want to install this application? Clicking on Install to proceed next.
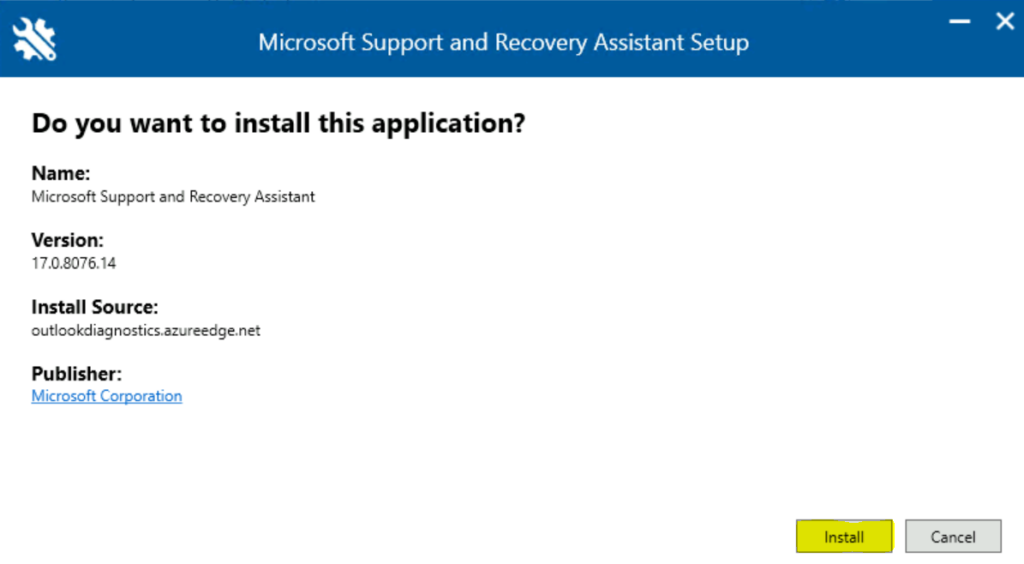
The setup file will start downloading the application, and It may take a few moments.
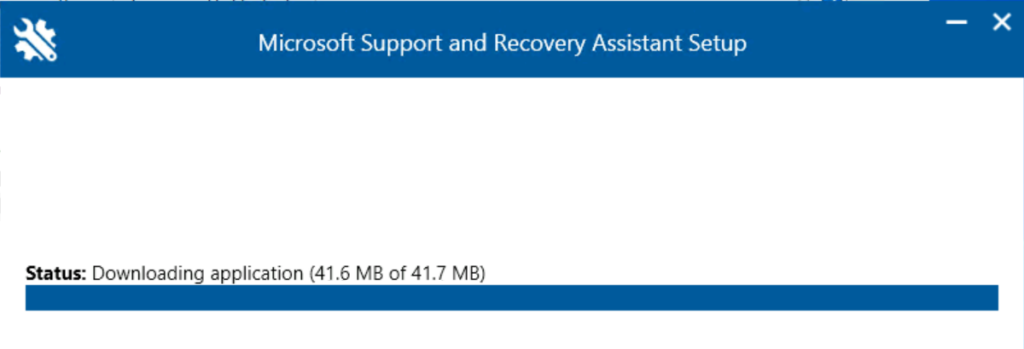
Microsoft Support and Recovery Assistant will automatically open and run when finished installing.
However, You can Open the Start Menu look for the installed Microsoft Support and Recovery Assistant app.
Before launching the application, It verifies application requirements. This may take a few moments.

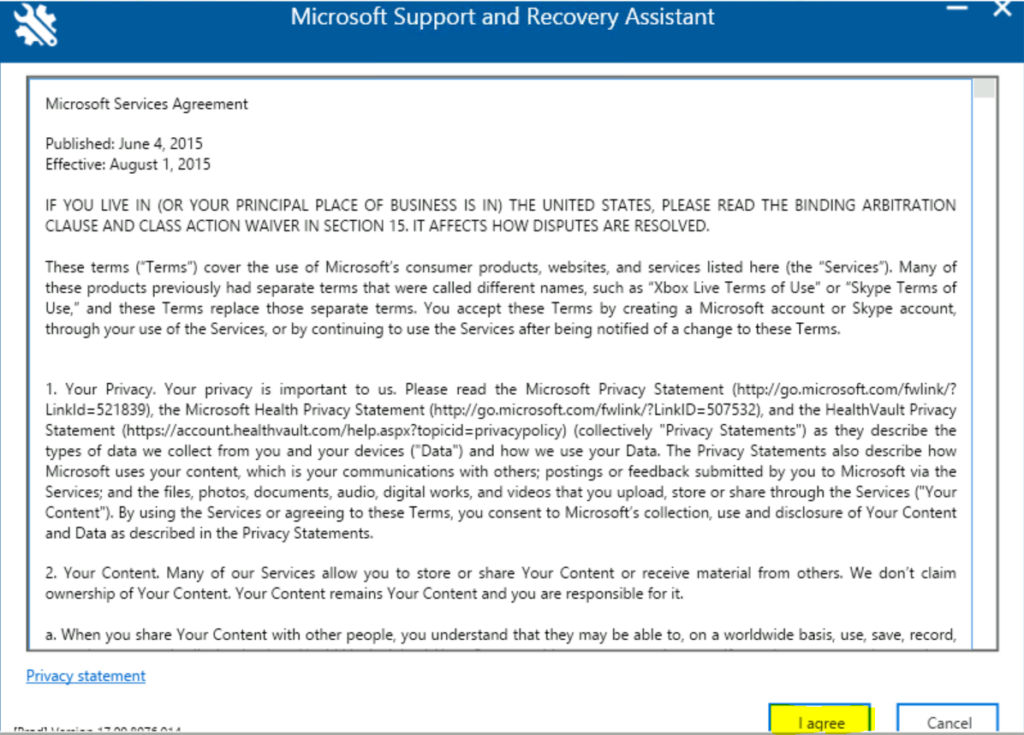
The first time you open the Microsoft Support and Recovery Assistant, Read the Microsoft Services Agreement, and click I agree.
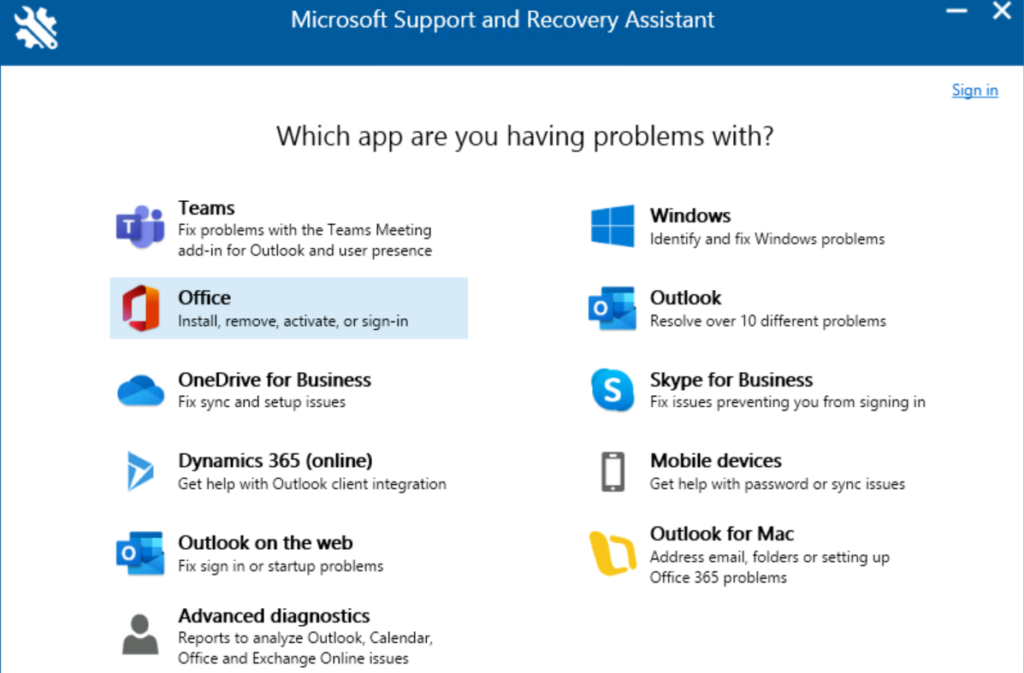
Choose which app are you having problems with? (for example – I selected Office) and click Next.
Important – When you uninstall Microsoft Office from your computer, close all the running Office apps. The Office uninstallation may fail if any of its apps are being used at the time of uninstallation.
Next, choose the problem you’re having from the list and click Next. (For Example, Select the option “I have Office installed, but I’m having trouble uninstalling it.) The list of problems will be different based on your selected app.

When prompted to confirm that you are using the affected machine, select Yes, and then select Next. If you run the application on different devices, It may advise you to run the installer in the affected machine.
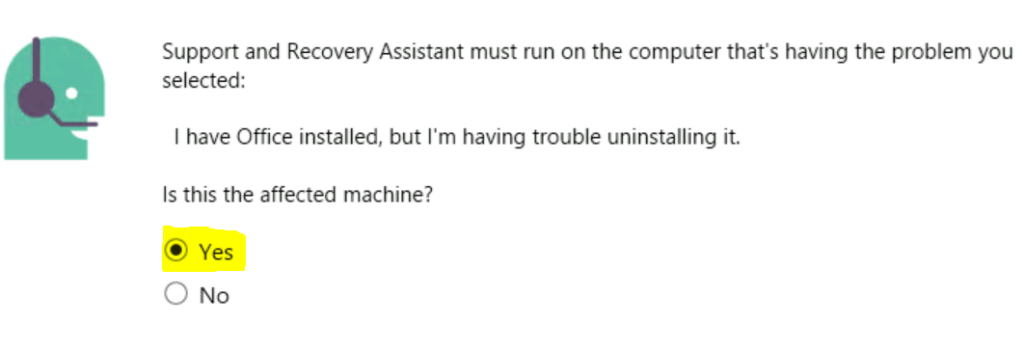
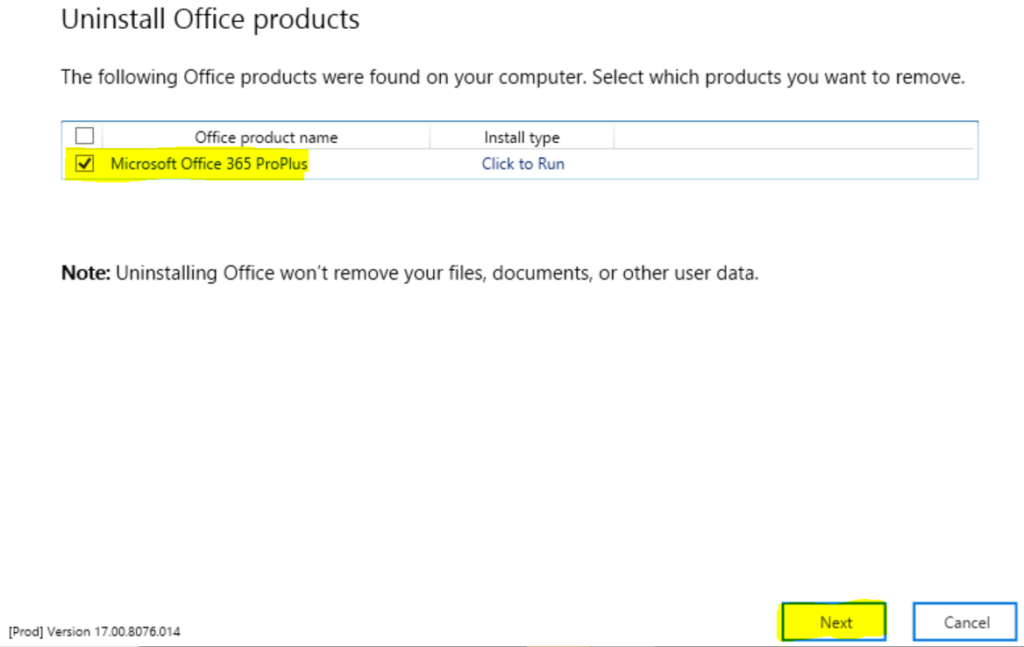
The Microsoft SaRA tool will automatically detect the office installation on your computer and ask you to select the Office version to remove.
Note: Uninstalling Office won’t remove your files, documents, or other user data.
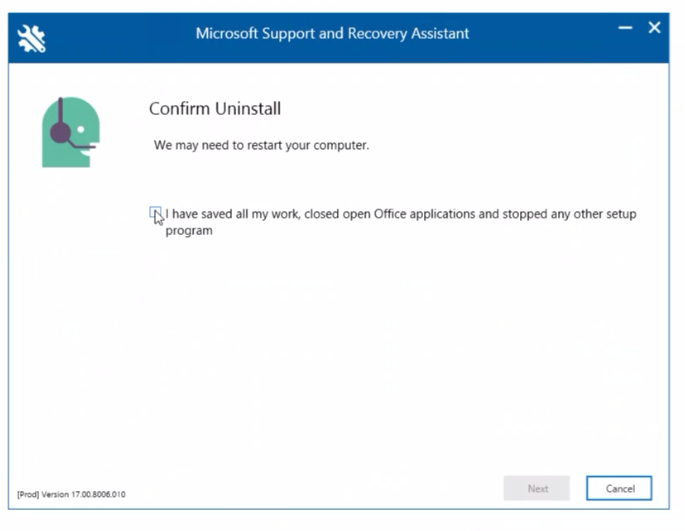
On the Confirm Uninstall window, select the checkbox “I have saved all my work, closed open Office applications and stopped any other setup program.” Click Next.
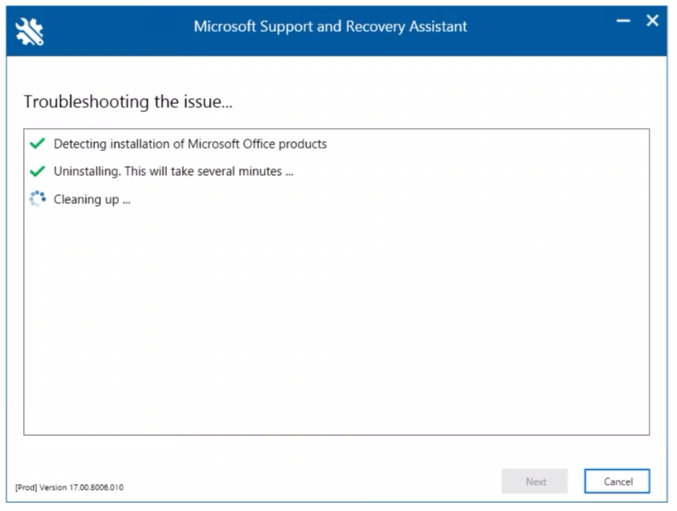
The Microsoft SaRA tool will detect the installation of Microsoft Office and start uninstalling the application from the affected machine. This process will take several minutes.
Here you see the status –
- Detecting installation of Microsoft Office products
- Uninstallting. This will take several minutes …
- Cleaning up …
Once the uninstallation process is completed, You need to restart your computer. Make sure you have saved all your open work items, Click Restart.
After restarting your computer, The next step is to validate the uninstallation from Control Panel > Program & Features. You will see the uninstalling Office has been completed successfully.

Install Microsoft SaRA from Network Location
If you want to install and start Microsoft Support and Recovery Assistant (SaRA) from a shared location on a network instead of the default internet location, Let’s follow the steps below –
- In the downloaded file, extract the files from the ClickOnce folder to a shared network folder.
- Install the SaRA tool. You can install it either at a command prompt or manually.
- Select Start, type cmd, and then press Enter to open a Command Prompt window.
- Type the path to SaraSetup.exe, and then press Enter.
You can use the quiet switch (/q or /quiet) to run Setup without user interaction or interface. For example-

Use the /?, /h, or /help switches to display the following window that shows all available command-line switches for SaraSetup.exe.

Command-line version of Microsoft Support and Recovery Assistant
You can run Microsoft Support and Recovery Assistant scenarios using a command-line –
- Download SaRA by using the following link: https://aka.ms/SaRA_CommandLineVersionFiles
- In the downloaded file, extract the files in the DONE folder to a folder that you can access from the user’s computer on which you will run SaRA.

- On the user’s computer, select Start, enter
cmd, and then press Enter to open a Command Prompt window. - Run the command-line version of SaRA by using one or more switches.
Here you can check more about the switches that are available to control SaRAcmd – Supported switches
