Let’s go through the Install New ConfigMgr Software Update Point Role Guide. In this blog, I have detailed steps to configure the First (Upstream) Software update Role (SUP) role installation for Configuration Manager.
You must Install WSUS for the ConfigMgr Software Update Point Role. This guide explains how to set up a Remote SUP role for SCCM.
The software update point on the central administration site and primary sites is essential to ensure software update compliance assessment and the deployment of software updates to clients. However, it is optional for secondary sites.
It is important to validate that the server fulfils the necessary requirements and evaluate the site’s software update point infrastructure to successfully install the software update point site system role (SUP).
Related Post – SCCM WSUS Cleanup – Fix SCCM Scan Timeout Errors
SCCM SUP Prerequisites –Software Update Point Role
You need to confirm the operating system support for the SCCM Software Update Point installation from here. The following are some of the other prerequisites of SCCM SUP.
- Windows Server roles and features
- .NET Framework 3.5
- IIS configuration
- Application Development:
- ISAPI Extensions
- Security:
- Windows Authentication
- IIS 6 Management Compatibility:
- IIS 6 Metabase Compatibility
- IIS 6 WMI Compatibility
- Application Development:
- .NET Framework
- .NET Framework.NET Framework version 4.5 or later
- .NET Framework 4.8 (ConfigMgr 1906 or later)
- SQL Server Native Client
NOTE! If you are installing WSUS and SUP on a remote server, you need to install WSUS Console-related components on your primary server. Otherwise, your SUP installation won’t work.
Add Site Server Account
Ensure your site server has administrative privileges on the remote Software Update Point server before starting the activity.
- Add Site Server Computer account to SUP (Software Update Point) Server’s local administrator’s Group.
Upstream SUP Role Installation
The following steps will help you learn how to install the Upstream SUP for SCCM. The steps below will instruct you to install the Software Update Role (SUP).
Add Site Systems Roles
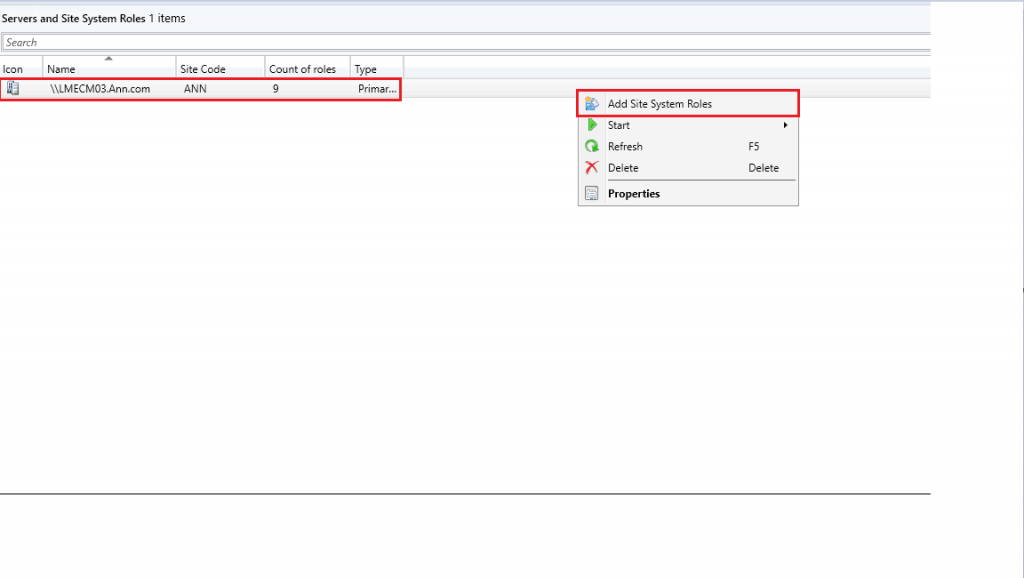
Launch the Configuration Manager Console, Select the Administration tab, Expand Overview -> expand Site Configuration, and Select Servers & Site System Roles. Select the < Server>; Right-click and select Add Site Systems Roles in the right-hand panel.

Select a Server to Use as a Site System
In the Add Site System Roles Wizard window, click Next in the General Tab.

Specify Internet Proxy Server
In the “Add Site System Roles Wizard” window, navigate to the Proxy tab.
Note: Mention proxy information and account information to connect to the Internet to download the metadata from the Internet
- Click Next

Specify Roles for this Server
In the Add Site System Roles Wizard window, Select the Software Update point role in the System Role Selection Tab and Click Next.

Specify Software Update Point Settings
In the Add Site System Roles Wizard window, in the Software Update Point Tab, Select the option WSUS is configured to use ports 8530 and 8531 for client communication (these are the default settings for WSUS on Windows Server 2020).
Click Next.

Specify Proxy & Account Settings for Software Update Point
In the Add Site System Roles Wizard window, click Next in the Proxy and Account Settings Tab.

Specify synchronization source settings
In the Add Site System Roles Wizard window, in the Synchronization source Tab, Select the option Synchronize from Microsoft Update and click Next.

Synchronization Settings
In the Add Site System Roles Wizard window, click Next in the Synchronization Schedule Tab.
NOTE! : Enable the Synchronization on a schedule based on the requirement

Select Behavior for Software Updates is Superseded
In the Add Site System Roles Wizard window, click Next in the Superintendence Rules Tab.

Configure WSUS Maintenance Behavior
In the Add Site System Roles Wizard window, click Next in the WSUS Maintenance Tab.
Note: From SCCM Current branch 1906, enabling the WSUS maintenance options is part of SUP role configuration at the top-level site. For more information https://support.microsoft.com/en-us/help/4490644/complete-guide-to-microsoft-wsus-and-configuration-manager-sup-maint

Configure Maximum Run Time
In the Add Site System Roles Wizard window, click Next in the Maximum Run Time Tab.
Note: Change the update installation maximum amount of time-based on the environment.

Specify Configuration for Software Update Content
In the Add Site System Roles Wizard window, In the Update Files Tab, Select the option Download full files for all approved updates, and Click Next.

Select the Software update classifications that you want to Synchronize
In the Add Site System Roles Wizard window, Select the Software update classifications based on the environment in the Classifications Tab.
Click Next.

Select the Products that You Want to Synchronize
NOTE! – Do Not Setup SUP With Default WSUS Product Selection ConfigMgr SCCM. More details https://howtomanagedevices.com/sccm/1625/default-wsus-product-selection/
- In the Add Site System Roles Wizard window,
- In the Products Tab,
- Select the Products based on the environment
- Click Next
A new SUP product filter option is available in the SCCM 2203 version or later.

Specify the Language Settings that you want to Synchronize
In the Add Site System Roles Wizard window, Select the Languages based on the environment in the Languages Tab.
Click Next

Confirm the Settings
In the Add Site System Roles Wizard window, click Next in the Summary Tab.

Progress
In the Add Site System Roles Wizard window, Role installation initiation is in progress in the Process Tab.

Summary
In the Add Site System Roles Wizard window, click Close in the Completion Tab.

Check the installation Status using the Log File.
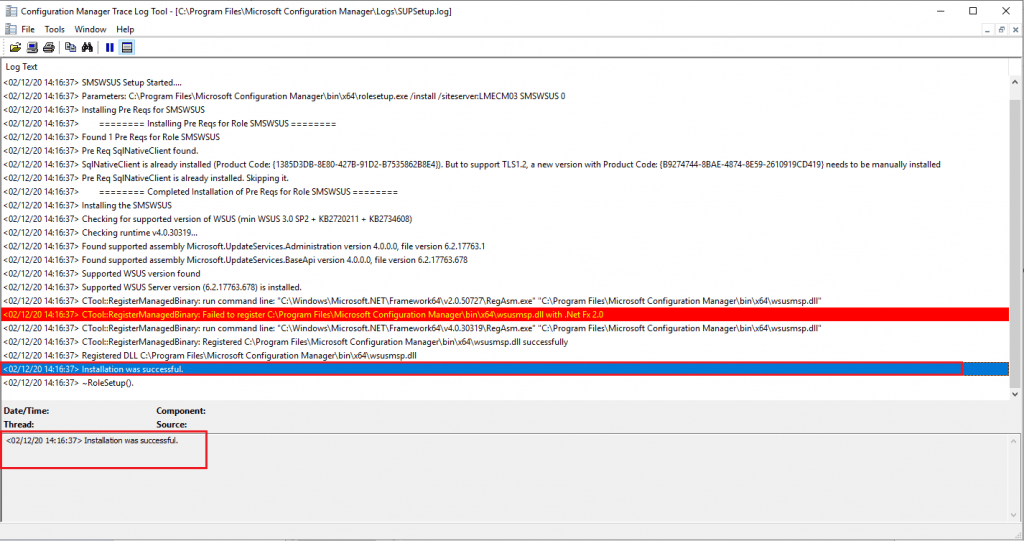
The below log information will provide complete setup information. Logfile folder Location: <Drive>\Program Files\Microsoft Configuration Manager\Logs.
SUPSetup.log: The log represents the installation of the Software Update role

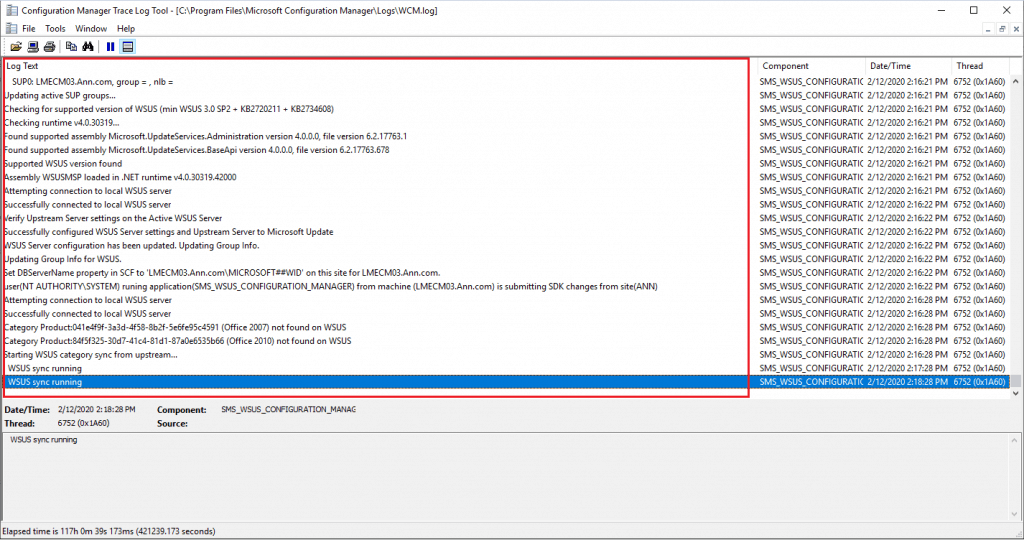
Logfile folder Location: <Drive>\Program Files\Microsoft Configuration Manager\Logs
WCM.log: The log represents the site server that connects to the WSUS server

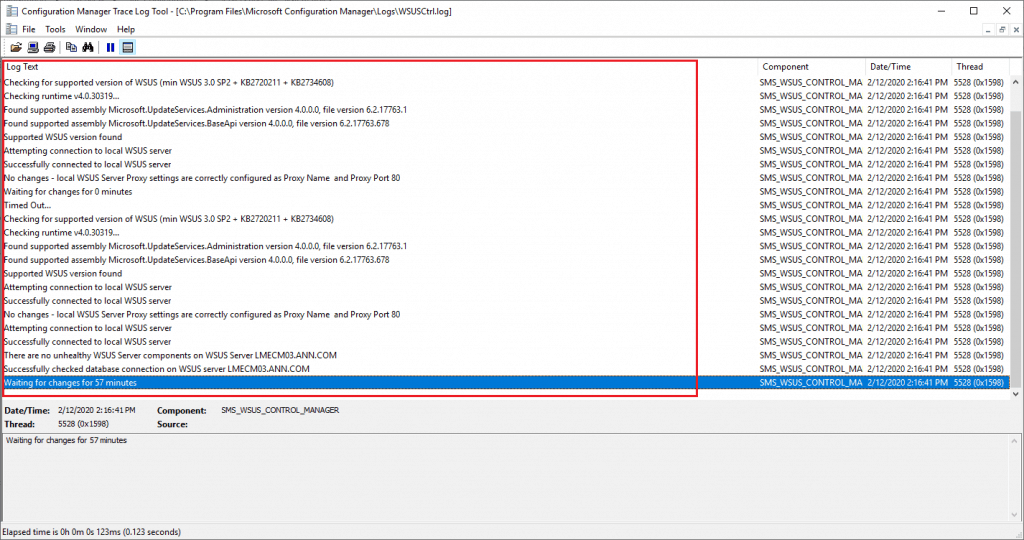
Logfile folder Location: <Drive>\Program Files\Microsoft Configuration Manager\Logs
WSUSCtrl.log: The log represents the site server configuration, database connectivity, and health of the WSUS server of the site.

Resources
- Install and configure a software update point
- SCCM WSUS Cleanup – Fix SCCM Scan Timeout Errors
- Step-by-Step New Primary Server Setup Guide – https://www.anoopcnair.com/configmgr-primary-server-installation-guide/
We are on WhatsApp. To get the latest step-by-step guides and news updates, Join our Channel. Click here –HTMD WhatsApp.
Author
Kannan is a Technical Architect with more than 15 years of experience in the IT domain. He has worked on various technologies, such as Windows server administration, SCCM, SCOM, and Desktop Engineering. For the last 10 years, he has been working in Microsoft SCCM, focusing on Configuration Manager and Intune technologies.

When installing a Downstream SUP, does SQL express need to be installed on the Downstream server?
Great post! I’m upgrading my ConfigMgr environment and this guide was very helpful in understanding the new SUP role. Can you provide more details on how to troubleshoot common issues that may arise during the upgrade process?