How to Recover a Laptop OS plus Data with Veeam Endpoint Backup. Veeam Endpoint Backup is the first FREE enterprise-class Endpoint backup solution. I had a chance to test the beta version of the product.
In my previous post, I covered “How to Take Backup of Desktop Laptop Machines and Protect Data Using Veeam Endpoint.”
In this post, we’ll cover how to create recovery media (USB) and recover the crashed operating system of your laptop and desktop (Windows 7 and Windows 8), along with all installed applications and data.
Also, the video tutorial below will help you understand how easy it is to recover a crashed laptop using Veeam Endpoint.
- Veeam Backup for O365 v4 Community Version Upgrade Guide
- Veeam Backup for Microsoft Office 365 Guide
- Veeam Availability Suite v10 is Here!
How to Recover a Laptop OS Plus Data with Veeam Endpoint Backup
What can you do now in a Scenario where your Windows laptop crashes and does not boot up? Are you trying to repair it? I don’t think I’ll try to fix the OS, as I know that can sometimes worsen things. I suggest using Veeam Endpoint Backup and Recovery media to restore the laptop/desktop operating system with all installed apps and data.
https://www.youtube.com/embed/C9YOkQuDllY
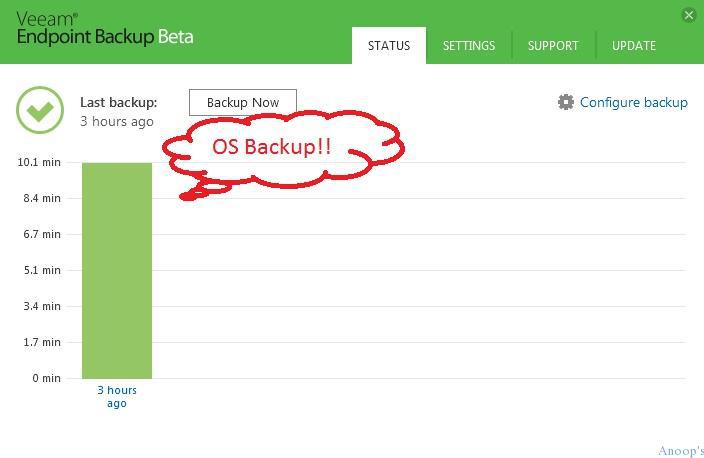
First, as I mentioned in my previous post, we need to take an Operating System backup using File-Based Backup and Select Operating System. The following example shows the Dell laptop’s File Based (Operating System Veeam Endpoint) backup completed in 10 minutes.
How Do You Create Recovery Media from the Veeam Endpoint Backup and Recovery Solution?
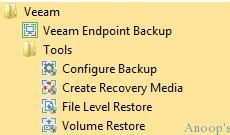
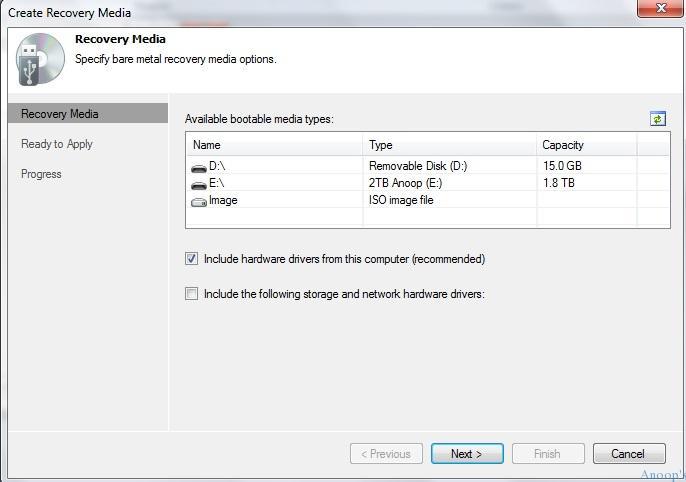
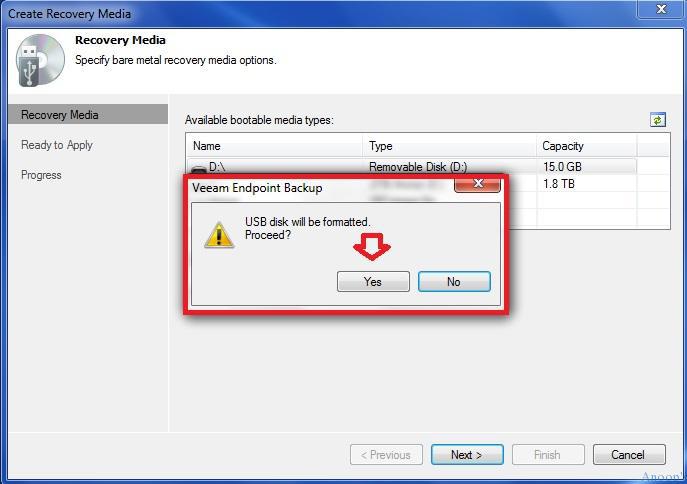
1. Select the “Create Recovery Media” shortcut from the Start menu in the Veeam advanced Recovery Disk creation wizard. I’ve selected the D drive, which is my USB removal disk. Make sure you’ve removed all the data from the USB as part of recovery media creation, as the USB will get formatted.
- It is better to select Include hardware drivers from this computer option.
2. Click YES to format the USB Disk and Click NEXT.
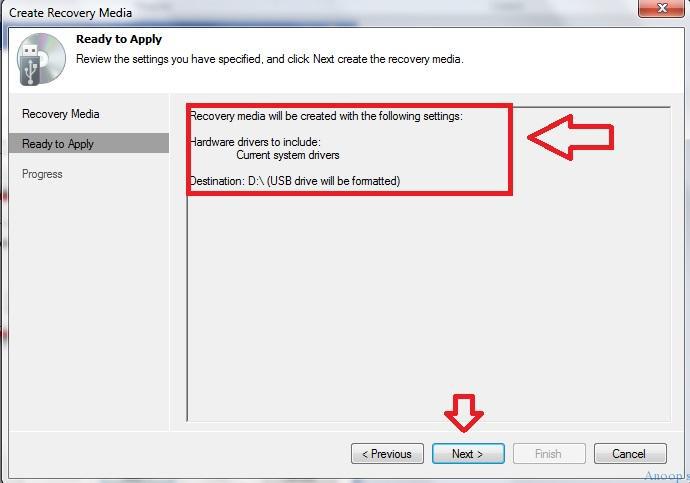
3. On the Ready to Apply page, click on NEXT.
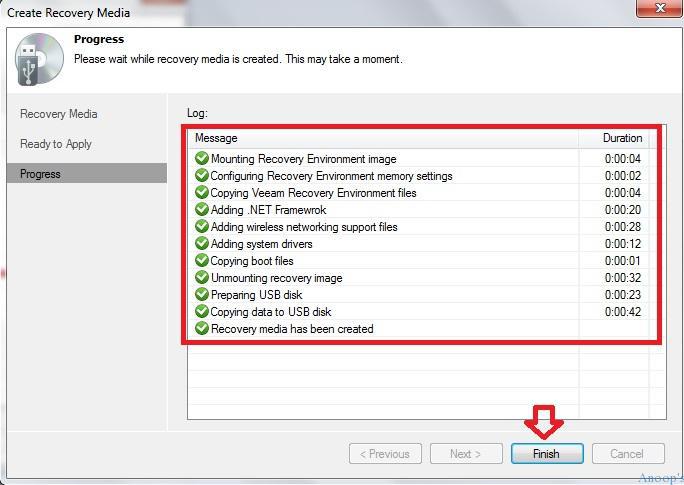
4. On the progress page of the Veeam Endpoint Backup and Recovery solution, you’ll see that the following components have been completed successfully. Click on NEXT.
| Veeam Endpoint Backup and Recovery solution |
|---|
| Mounting Recovery Environment image |
| Configuring Recover Environment Memory Settings |
| Copying Veeam Recovery Environment files |
| Adding .NET framework |
| Adding wireless networking support files |
| Adding system drivers |
| Copying boot files |
| Mounting recovery image |
5. Veeam Recovery Media (USB Drive ) is ready now.
How to Recover the Crashed Operating System of your Laptop and Desktop (Windows 7 and Windows 8) along with all Installed Applications and Data?
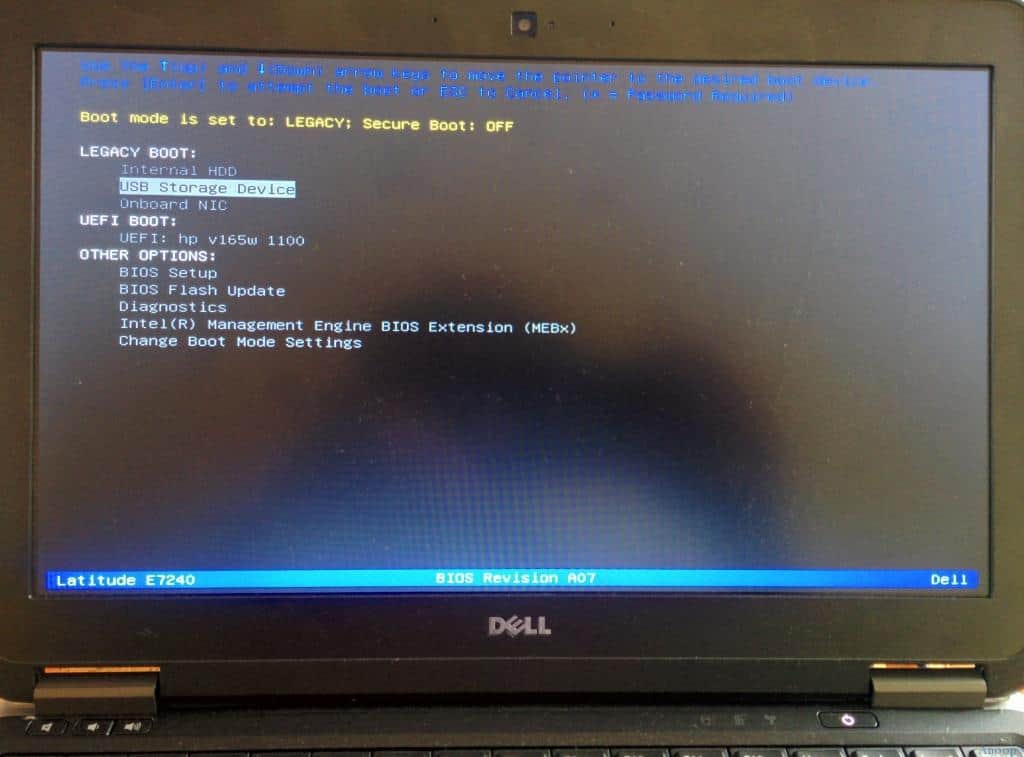
1. Boot the Laptop or Desktop from Veeam Recovery Media (USB drive).
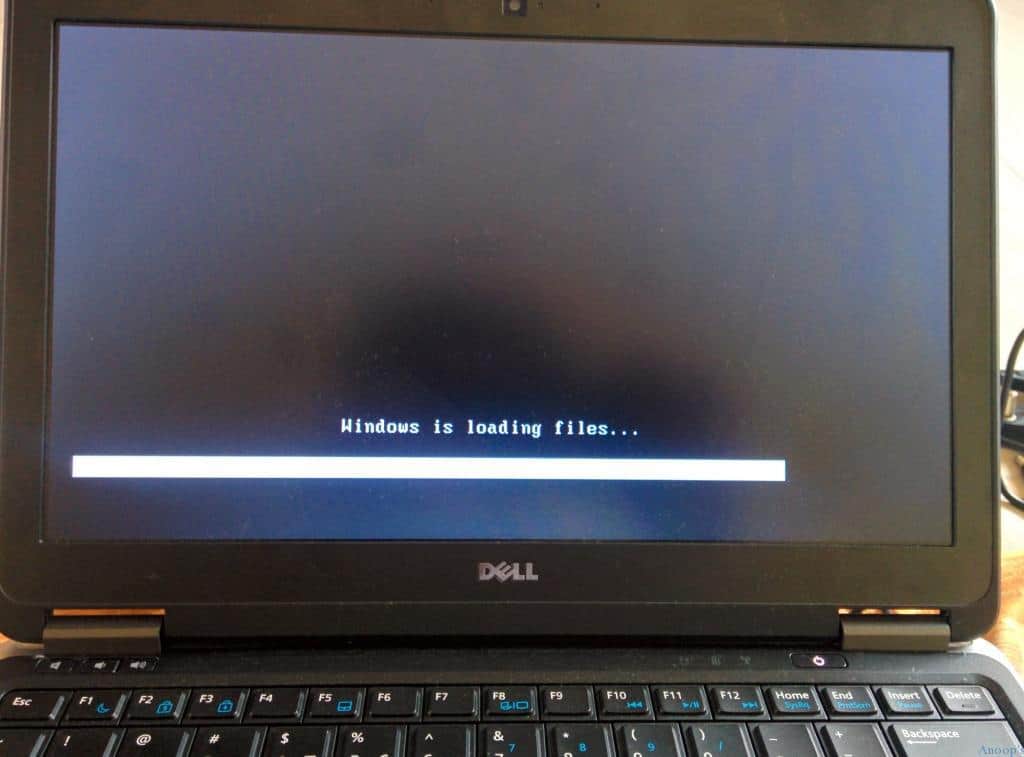
2. Windows is getting loaded from recovery media (USB Drive).
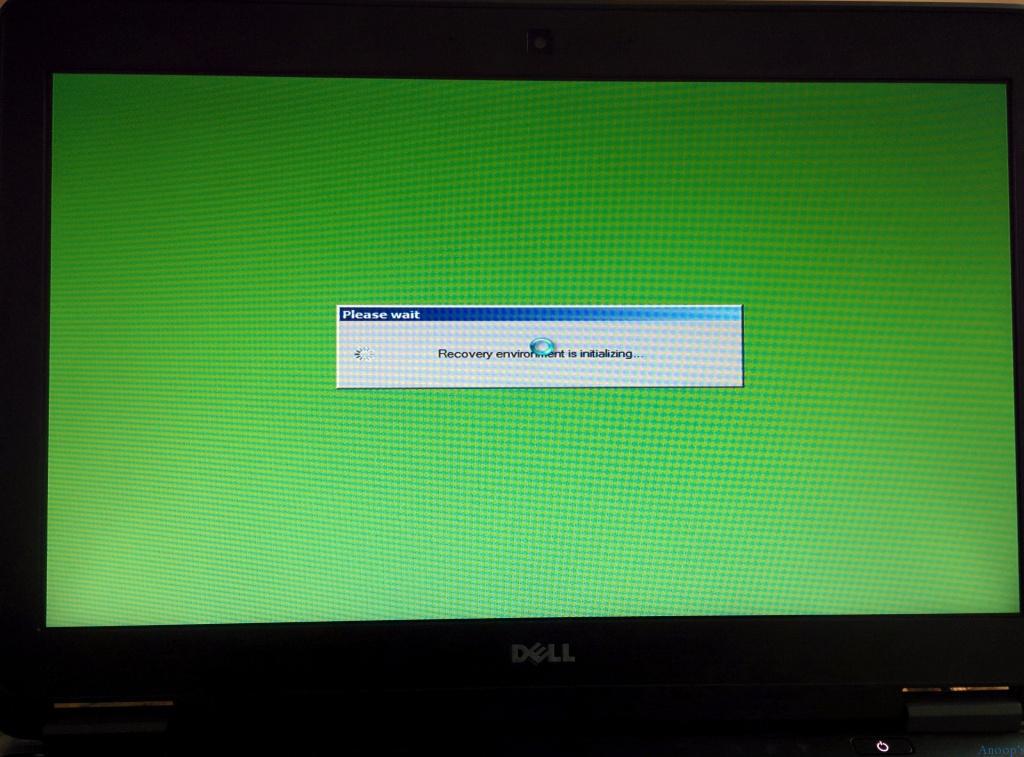
3. The machine is getting ready for the Recovery Environment !!
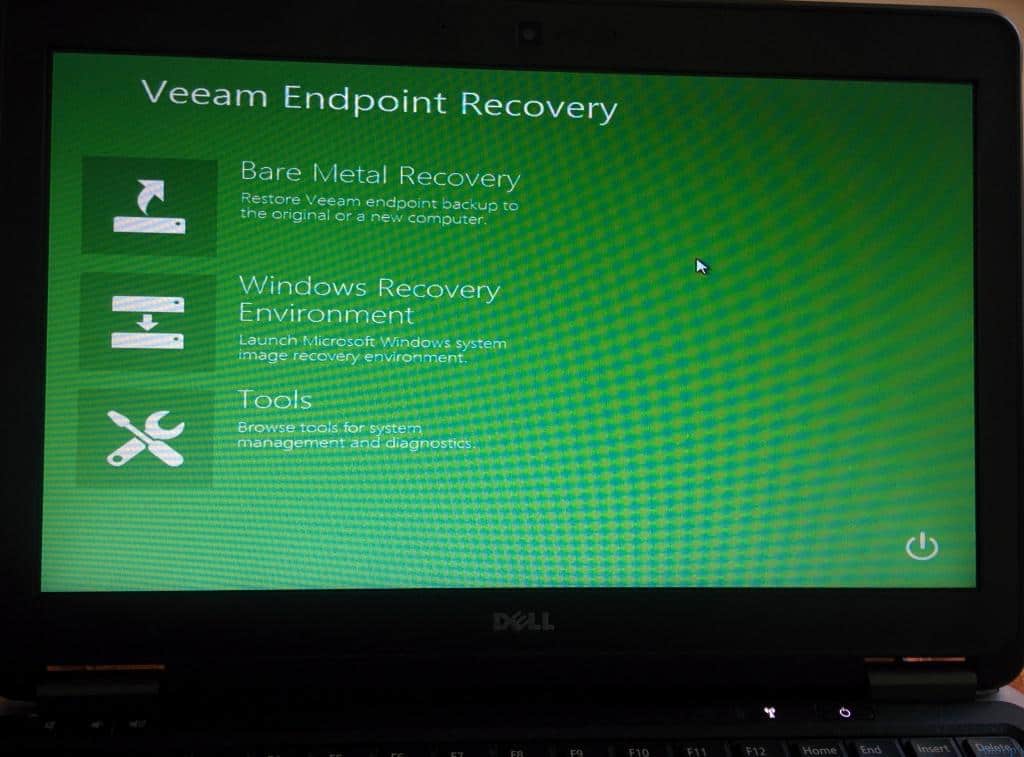
4. select Bare Metal Recovery. This will help restore the Veeam Endpoint backup to the original or a new computer. There are other valuable tools, as shown in the Video “Administrator Password reset,” etc.
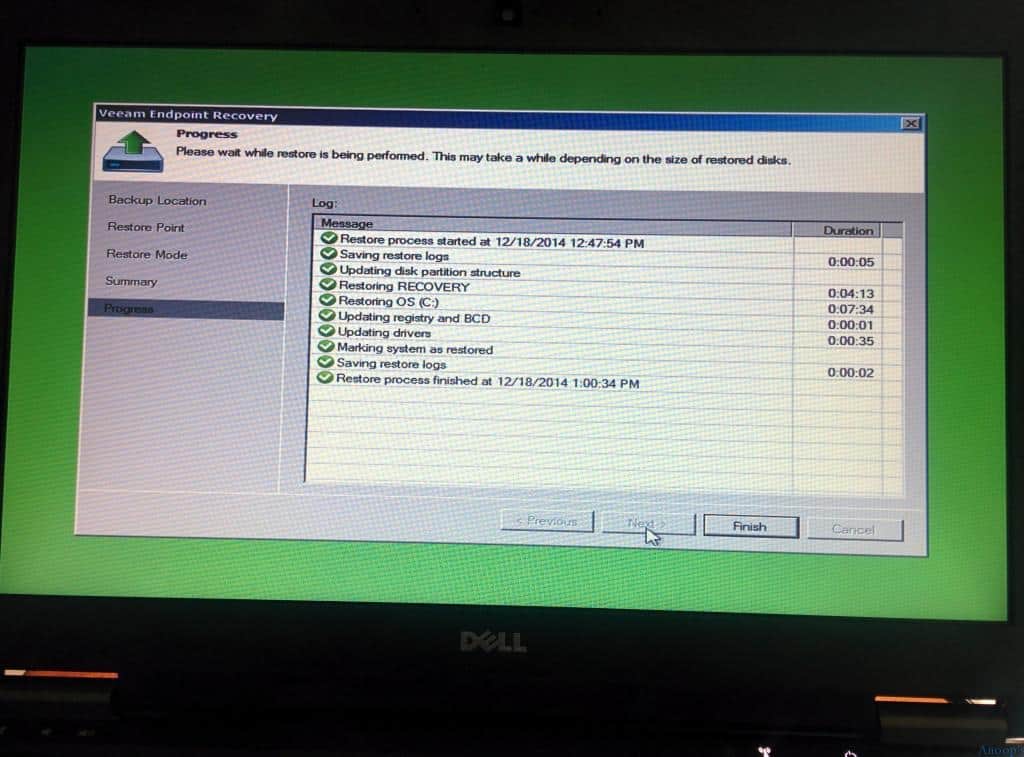
5. At the end of this process, you’ve successfully restored your laptop/desktop with all the applications and data intact using Veeam Recovery Media and Veeam File-Based backup, as mentioned in the above section of the post.
Resources
Windows 10 Latest Version Of Client Operating System From Microsoft (anoopcnair.com)
We are on WhatsApp now. To get the latest step-by-step guides, news, and updates, Join our Channel. Click here. HTMD WhatsApp.
Author
Anoop C Nair is Microsoft MVP! He is a Device Management Admin with more than 20 years of experience (calculation done in 2021) in IT. He is a Blogger, Speaker, and Local User Group HTMD Community leader. His main focus is on Device Management technologies like SCCM 2012, Current Branch, and Intune. He writes about ConfigMgr, Windows 11, Windows 10, Azure AD, Microsoft Intune, Windows 365, AVD, etc.
