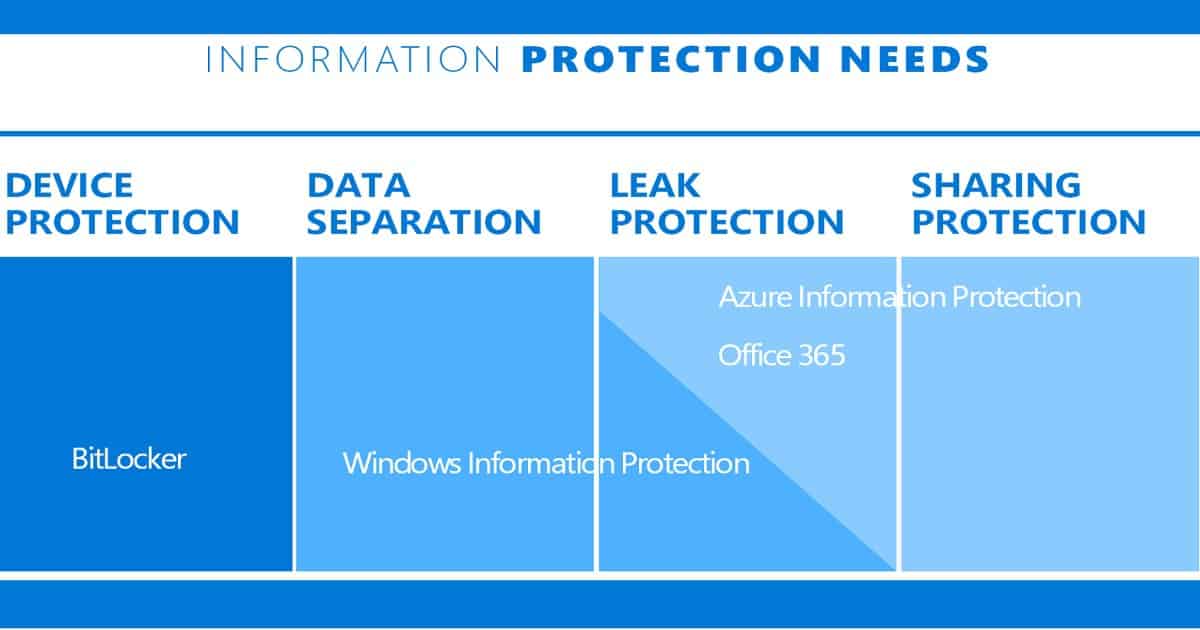
Let’s learn about Intune Decrypt Files Protected by WIP Policy. Windows Information Protection (WIP) is Microsoft’s accidental Data Leakage protection solution. WIP is fully supported in Windows 10 anniversary edition (1607) and later versions. This post will see more details about the Decrypt Files Protected Intune SCCM WIP Policy.
Certificates Details – Intune/SCCM WIP Policies – Encrypting File System (EFS) Data Recovery Agent (DRA) certificate has been created and used in WIP policies. The cipher/r command can be used to create two certificates. The EFSDRA.CER and EFSDRA.PFX files are created.
EFSDRA.CER is used to encrypt data using WIP policies—the EFSDRA.The PFX file contains your private key, which should be used during decryption. I have a post that explains “How to Create, Configure, and Deploy Windows 10 WIP Policies Using SCCM and Intune.”
We may need to go through the migration process towards modern management. This happened during one of the user migrations, and it didn’t go well. The user’s files were encrypted with the WIP policy. The user unenrolled and reenrolled his Windows 10 device as part of troubleshooting.
Table of Contents
- Step-by-Step Guide to Enable Widgets on Windows Machines with Intune Policy
- New Widget Updates in Windows 11 Moment 5 Review
- Windows 11 Search Widget in the Taskbar New Microsoft Experiment
- Add Custom Widgets to Windows 11 Desktop Screen
- Best Way to Deploy Manage Preview Builds Policy with Intune
Issue Statement – Personal Files Encrypted with WIP Policy – Intune Decrypt Files Protected by WIP Policy
Access to the protected files was revoked during troubleshooting and unenrollment from Intune. The user can’t open any files because those files are encrypted using the WIP policy and certificate. The user re-enrolled the device to Intune, but the WIP certificate still locks the protected files.
How to Decrypt WIP-Protected Files
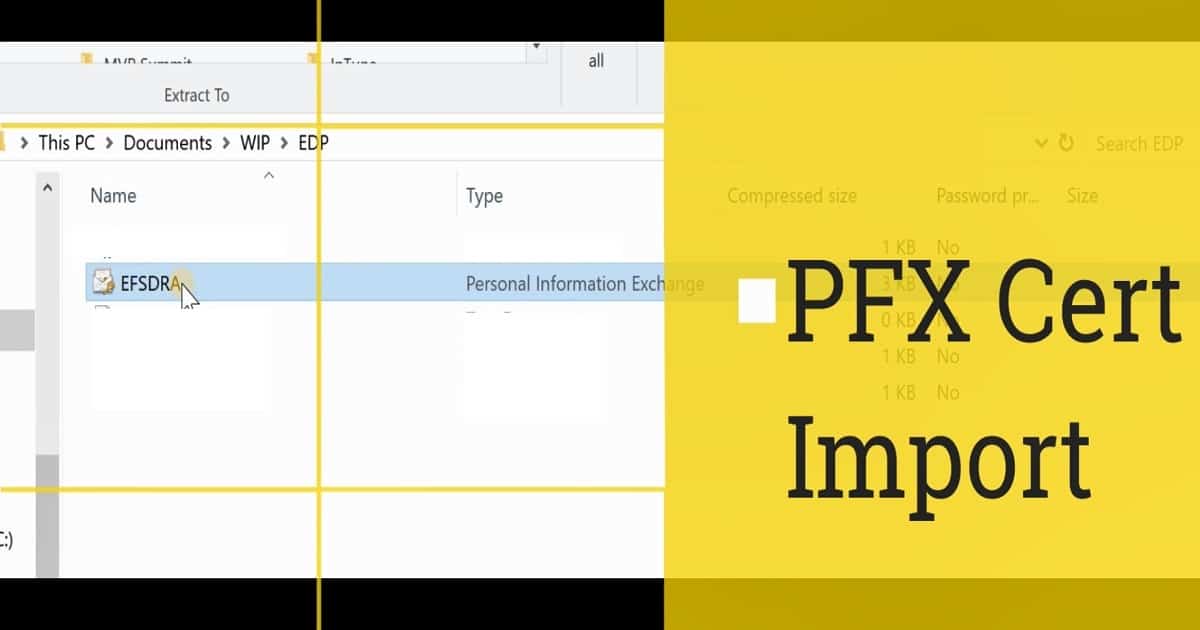
To decrypt the protected files, you need to import the PFX file to the computer where you want to perform the decryption process. You must be very careful because of the private keys in your DRA. The PFX file can be used to decrypt any WIP file.
The PFX file must be stored offline, keeping copies on a smart card with strong protection for regular use. It’s better to keep master copies in a secured physical location.
- Import EFSDRA.pfx
Double-click on the EFSDRA.PFX file to start the certificate import wizard. This wizard helps import the certificate to the user’s machine. Make sure you select Store Location as a Current user.
Browse and select the EFSDRA.PFX file to import. The private key PFX is protected with a secure password, which you must enter to proceed with the certificate import wizard. In the import options, make sure you select “Include all extended properties.”
Select the certificate store in the import wizard. The best way to have the default location of the cert store. And it’s “Automatically select the certificate store based on the type of certificate.” Complete the certificate import wizard.
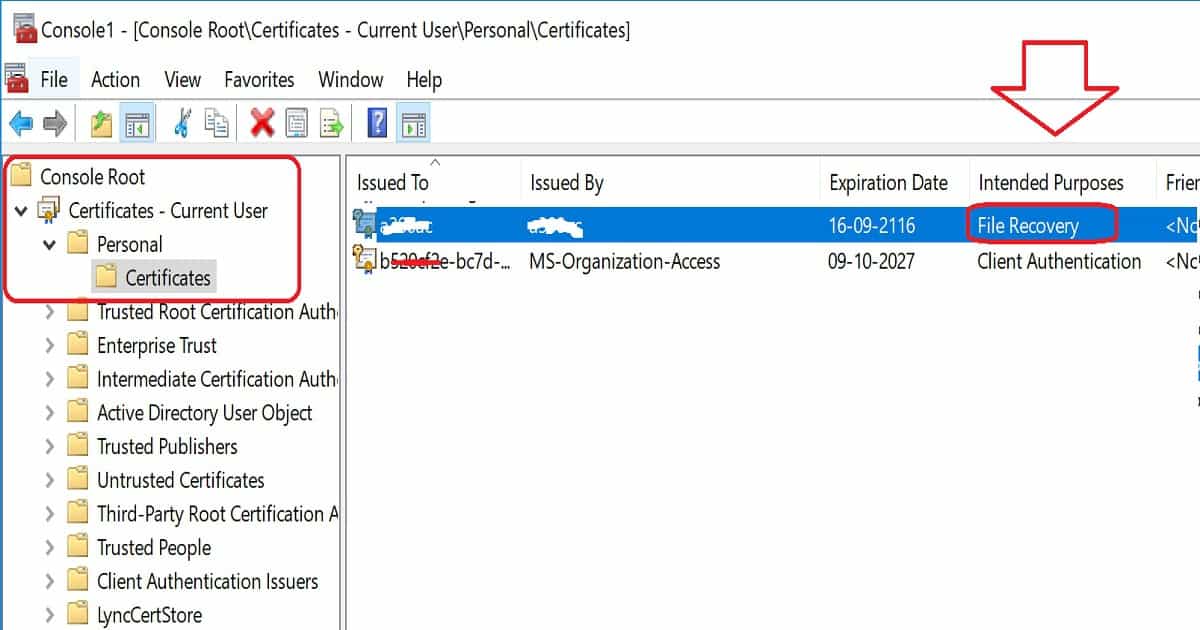
Confirm whether the certificate or private key PFX file is imported successfully to the certificate store—certificates – Current User – Personal – Certificates. Check out the Intended Purposes tab in the console and check whether there is any File Recovery certificate.
2. Cipher /d Command to Decrypt the Files
Confirm the private file is imported into the machine’s certificate store. The next step is to run the following command cipher /d “File_Name.XXX” from the directory where the protected files are stored.
- C:>cipher /d “SCCM Intune.docx”
- Decrypting files in C:\WINDOWS\system32\
- SCCM Intune.docx [OK]
- 1 file(s) [or directories(s)] within 1 directories(s) were decrypted.
Troubleshooting – Check the WIP Logs
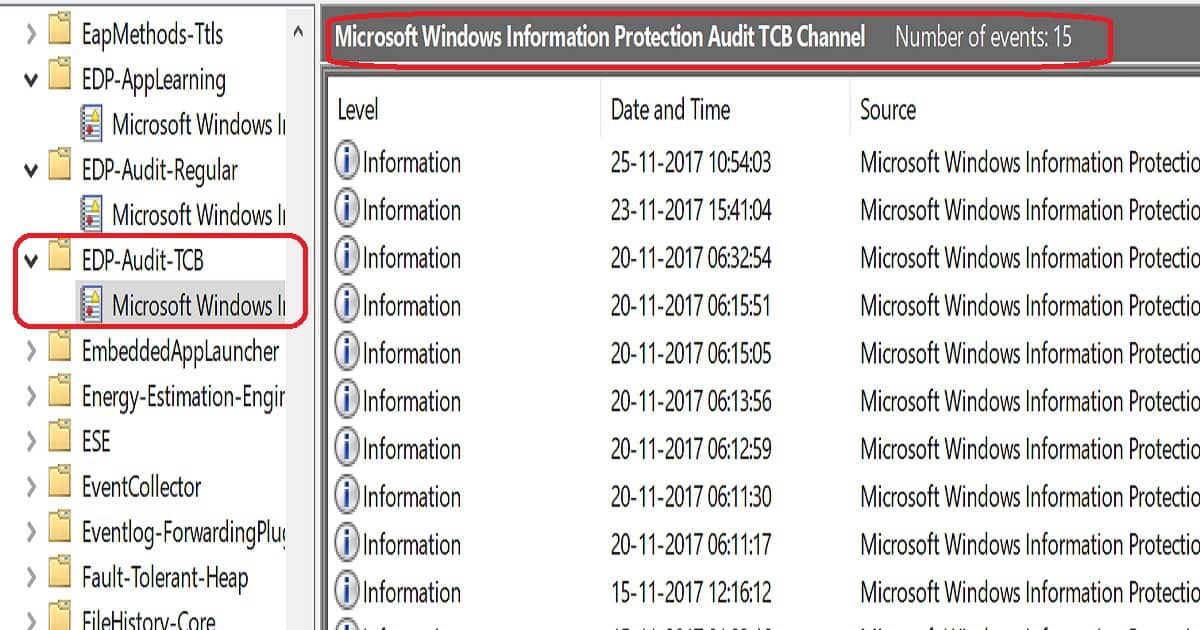
WIP troubleshooting can be done through Windows event logs. Navigate to Application and Services LogsMicrosoftWindows, click EDP-Audit-Regular, and click EDP-Audit-TCB.
| Check the WIP Logs |
|---|
| EDP-Audit-TCB |
Log Name: Microsoft-Windows-EDP-Audit-TCB/Admin
Source: Microsoft-Windows-EDP-Audit-TCB
Date: 25-11-2017 10:54:03
Event ID: 101
Task Category: None
Level: Information
Keywords: Windows Information Protection Audit Protection Removed Keyword
User: ANOOP-SURFACE-B\Anoop C Nair
Computer: Anoop-Surface-Book
Description:
Enterprise ACNS.COM tag has been removed (Protection removed) from the file: C:\Users\Anoop C Nair\Pictures\SCCM 1710\Overview SCCM Co-Mgmt CMG.jpg
Event Xml:
<Event xmlns="http://schemas.microsoft.com/win/2004/08/events/event">
 <System>
 <Provider Name="Microsoft-Windows-EDP-Audit-TCB" Guid="{}" />
 <EventID>101</EventID>
 <Version>0</Version>
 <Level>4</Level>
 <Task>0</Task>
 <Opcode>0</Opcode>
 <Keywords>0x8000000889787810</Keywords>
 <TimeCreated SystemTime="2017-11-25T05:24:03.294238400Z" />
 <EventRecordID>15</EventRecordID>
 <Correlation />
 <Execution ProcessID="876" ThreadID="11836" />
 <Channel>Microsoft-Windows-EDP-Audit-TCB/Admin</Channel>
 <Computer>Anoop-Surface-Book</Computer>
 <Security UserID="" />
</System>Resources
- How to collect Windows Information Protection (WIP) audit event logs
- best practices for Windows Information Protection (WIP)
- How to Create and verify an EFS and Data Recovery Agent (DRA) certificate
We are on WhatsApp now. To get the latest step-by-step guides, news, and updates, Join our Channel. Click here. HTMD WhatsApp.
Author
Anoop C Nair is Microsoft MVP! He is a Device Management Admin with more than 20 years of experience (calculation done in 2021) in IT. He is a Blogger, Speaker, and Local User Group HTMD Community leader. His main focus is on Device Management technologies like SCCM 2012, Current Branch, and Intune. He writes about ConfigMgr, Windows 11, Windows 10, Azure AD, Microsoft Intune, Windows 365, AVD, etc.


