Let’s discuss the detailed review of the ClickUp App for Windows. ClickUp is a project management software that helps you to plan, track, and collaborate on any project. It helps your business life easier. ClickUp is highly user-friendly, so anyone can get up and running easily.
ClickUp is an impressive tool for communication and teamwork that can assign tasks, report on progress, and send notifications. It is a cloud-based project management tool. ClickUp allows various collaboration features. It is suitable for all types of business and team sizes.
This is the software that has the highest rate of client support. It is available for full days, including holidays. It increases your productivity. Team collaboration and communication are the new features of ClickUp.
It is an excellent choice for growing companies; with the Free Forever Plan, users can explore hundreds of customizable features, add an unlimited number of seats, and create a total number of tasks for free. Pricing plans are also available here.
- Detailed Overview of Microsoft To Do Application
- Complete Review of Microsoft Paint Modern Application
What are the Features of ClickUp?

ClickUp is a project management tool that offers several collaboration tools for keeping teams on the same page. Some features are given below.
1. It is a Process management
2. It allows task management
3. It helps to manage time
4. It allows third-party app integrations
5. It includes team collaboration and reporting
6. It allows proprietary actions
ClickUp App for Windows Detailed Review
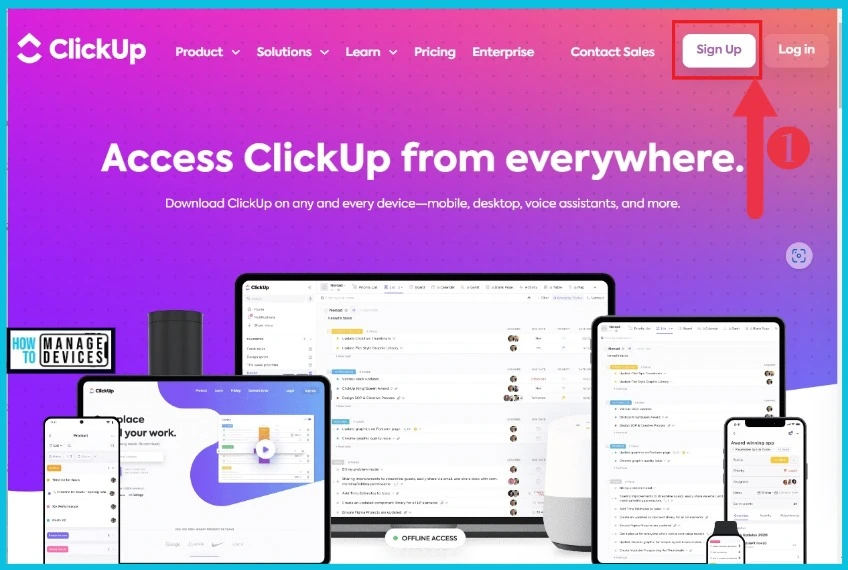
ClickUp is an all-in-one productivity tool, and you can easily log in or Sign Up for ClickUp from its official website. You get two options when you access the ClickUp link, including sign Up and log in.
- Click the Sign-Up option from the window below
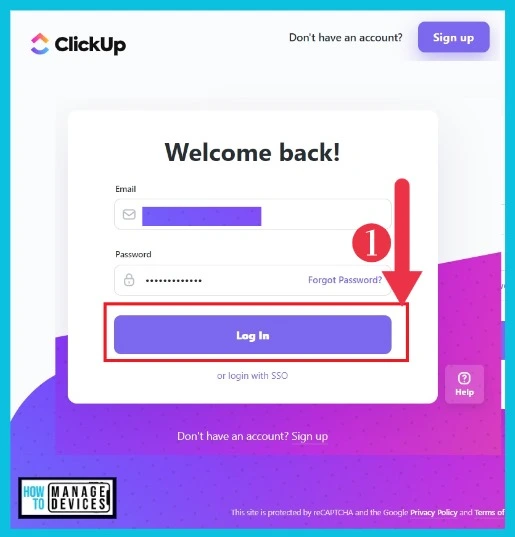
After clicking the signup option, you get a clickup welcome window. This page will be open by using your Email ID and Password. The below screenshot gives details.
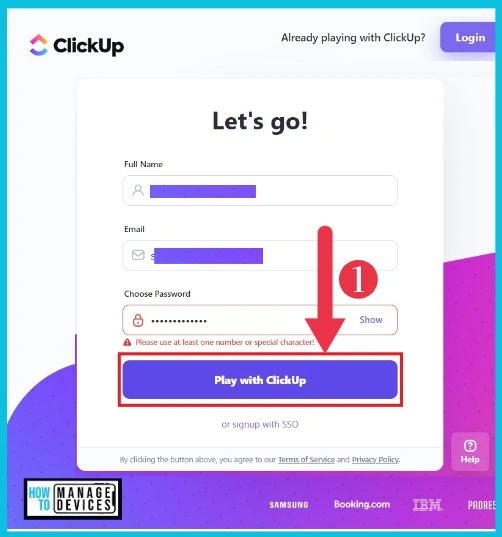
After that, you click the login option; you can see another window to help you go ahead. You can add a name, Email ID and Password and choose play with ClickUp. It will help you to the next step.
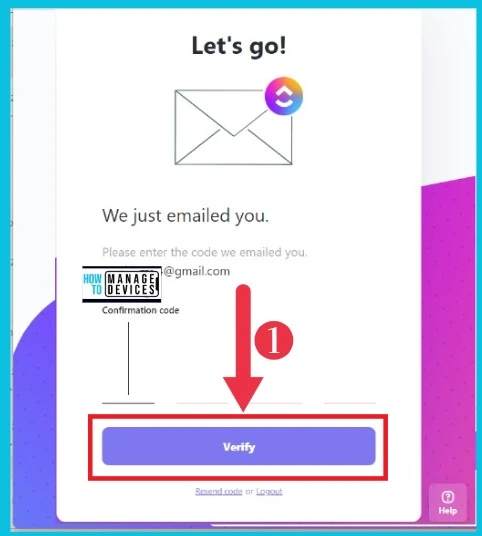
After that, you will get a 4-digit email verification code in your Gmail. Type that 4-digit Email verification code, then click verify for the next step.
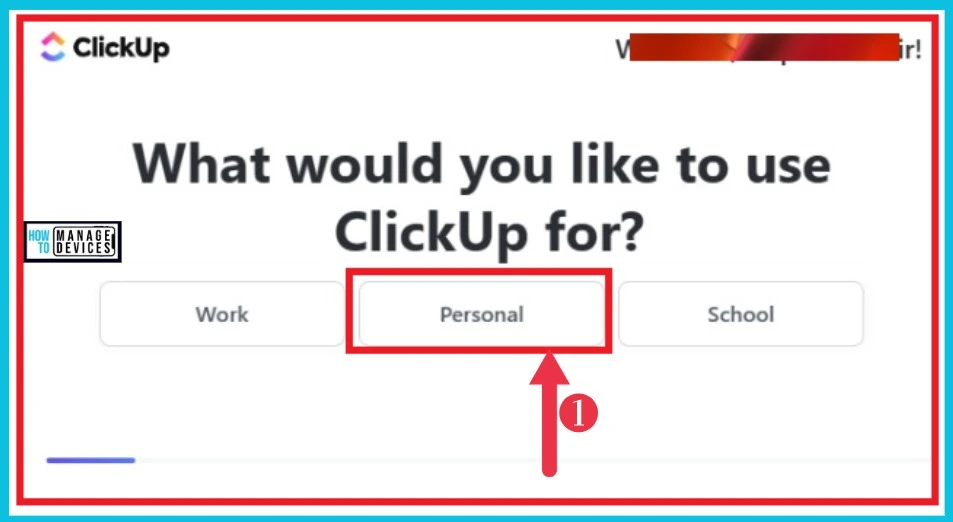
In the below window, you can select the purpose of using ClickUp on your desktop. There are 3 options available in this window: Work, Personal, and School. Here, I choose the Personal option for using ClickUp.
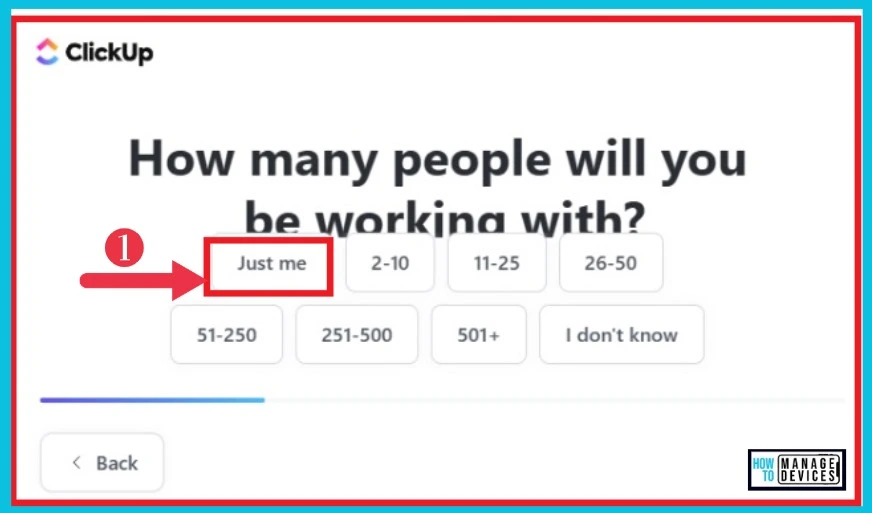
This window helps you to mention the number of people working with you in Click Up. There are different options available in this window. Here, I select the Just Me option.
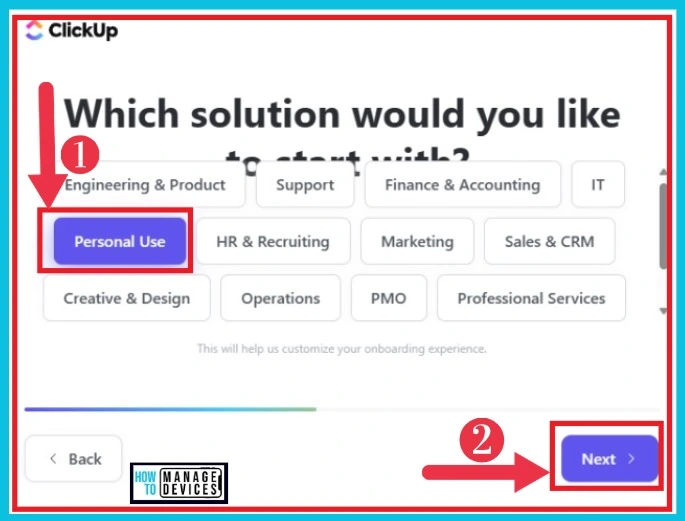
In this window, different types of solutions that you would like to start ClickUp. It includes options like Engineering and product, Support, Finance and accounting, etc. Here, I use the Personal Use option and then click the Next option.
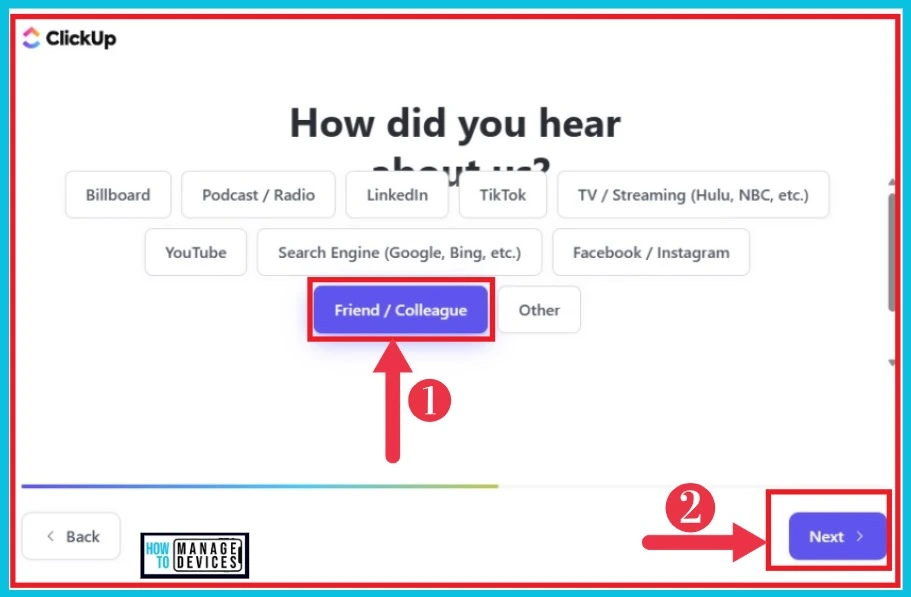
In this window, different options are seen, such as Billboard, Podcast/Radio, LinkedIn, etc. Here, I use Friend/Colleague. Then click the Next option.
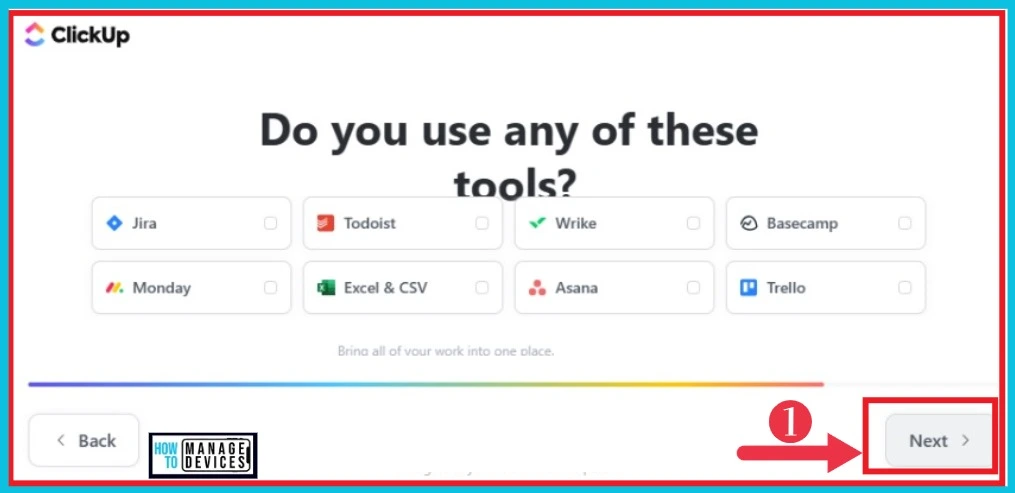
In this window, you see different tools like Jira, Todoist, Basecamp, etc. You can choose any option from this window; otherwise, ignore and select the Next option.
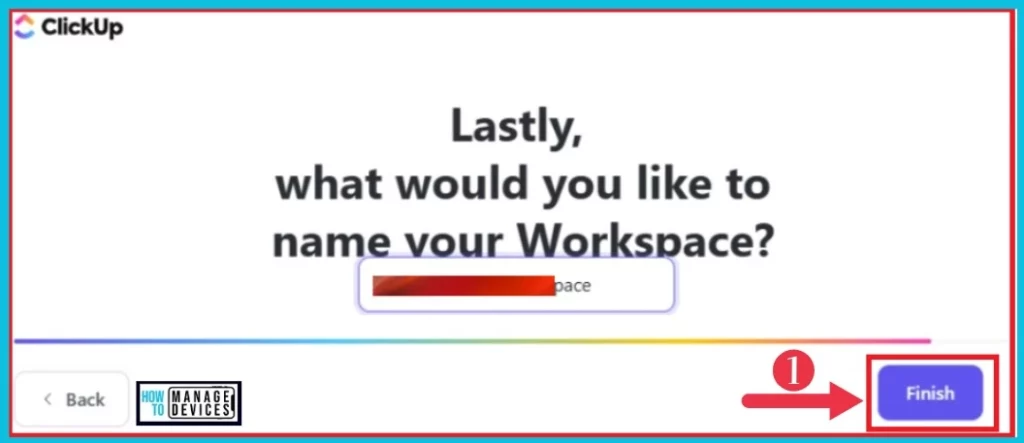
In this window, you can give a name to your workspace. You can give any name for your workspace in ClickUp and choose the Finish option.
This is the Welcome window of the Clickup desktop app. This window shows a video that will help you to how ClickUp can transform your productivity. You can also skip the video.
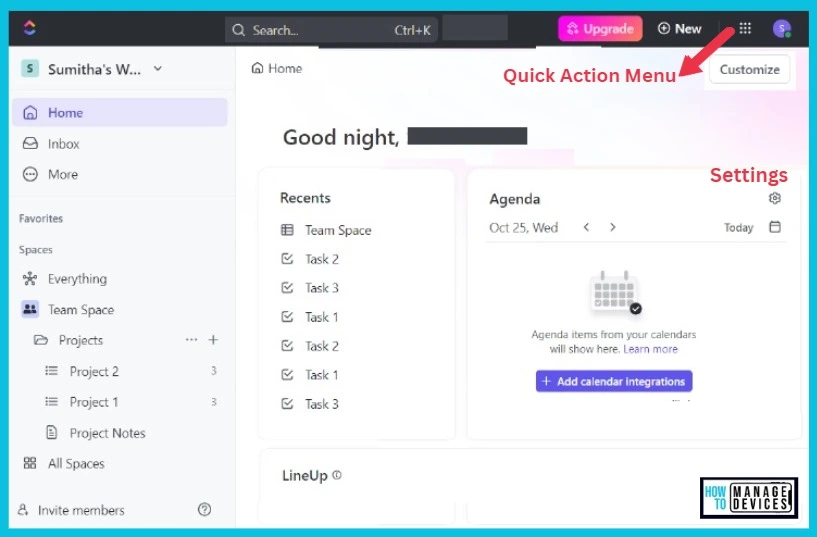
Home Screen of ClickUp
After selecting the Skip Video, You get the Home Screen of ClickUp. It provides so many features to work with ClickUp. The below table and screenshot give the details.
| Different Menu in ClickUp | Used to |
|---|---|
| Home | It provides a panoramic view of your most important items |
| Inbox | It allows you to see updates from the workspace you are actively working in |
| More | It allows you to work with more options |
| Quick Action Menu | It helps you to create a task quickly, reminder, doc, chat view or whiteboard |
| Settings | To access and change your ClickUp account settings |
| Customize | It helps to customize ClickUp |
| Favourites | It helps to pin your favourite spaces |
| Spaces | It shows different spaces in ClickUp |
| Invite members | It helps to invite members |
A. Home Menu
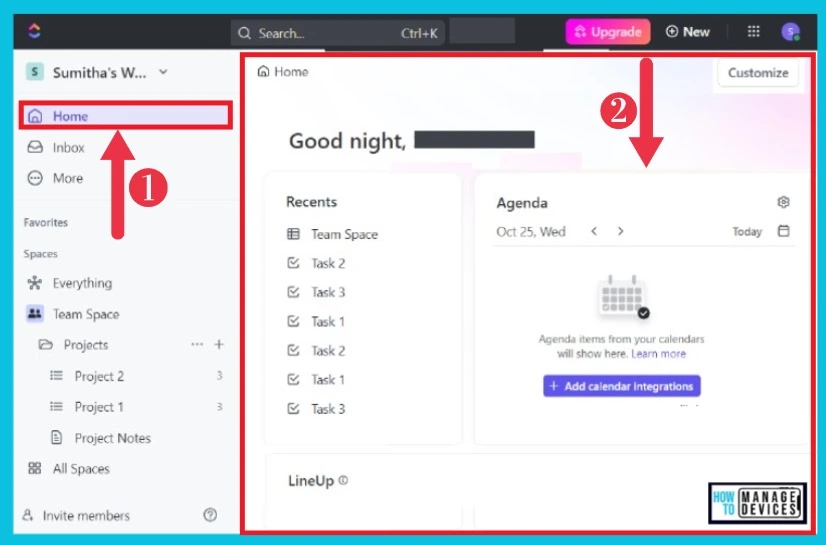
The Home menu on ClickUp shows different options such as Recent, Agenda and LineUp. These are the main features of ClickUp. The below list and screenshot give the details.
- Recent– It helps to find the recent tasks
- Agenda – It shows a calendar with agenda items in ClickUp
- Lineup – It helps build a better way to keep your priorities focused
B. Inbox
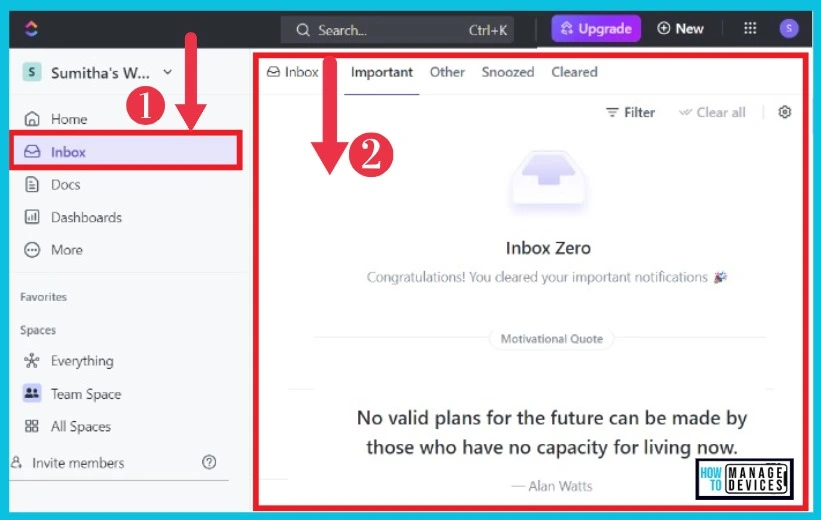
Inbox is a fundamental menu in ClickUp. It includes 4 options: important, other, snoozed and cleared. It lets you communicate with the team across all tasks, Docs, chats and links from a single inbox and puts your work side-by-side with notifications.
- Important – It shows essential notifications in the inbox
- Other – It shows other notifications in the inbox
- Snoozed – It shows a snoozed notification
- Cleared – It helps to clear the notifications in ClickUp
C. More
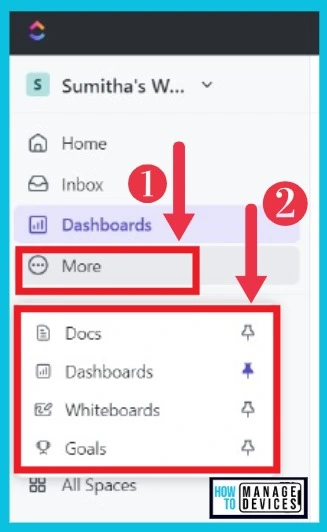
The More option in ClickUp helps you to add other Menu’s to the home screen of Clickup. The menus include Docs, Dashboards, Whiteboards, and Goals. You can pin this menu to the ClickUp by clicking the pin button near the menu.
D. Favourites
This menu adds favourite workspaces to the favourite menu in ClickUp. It helps you to access your workspaces in ClickUp easily.
E. Spaces
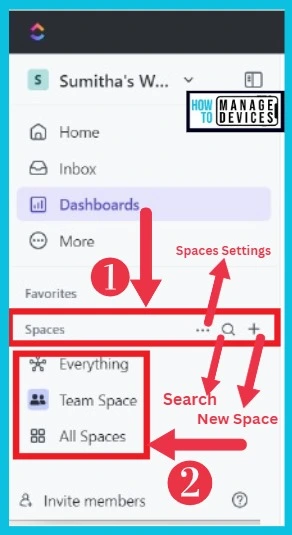
Spaces is another important menu in ClickUp. It shows different types of workspaces that help you to create a clear, high-level organization for all your teams, departments, projects, and more with ClickUp’s customizable Spaces. The Spaces include Everything, Team Space, and All Spaces.
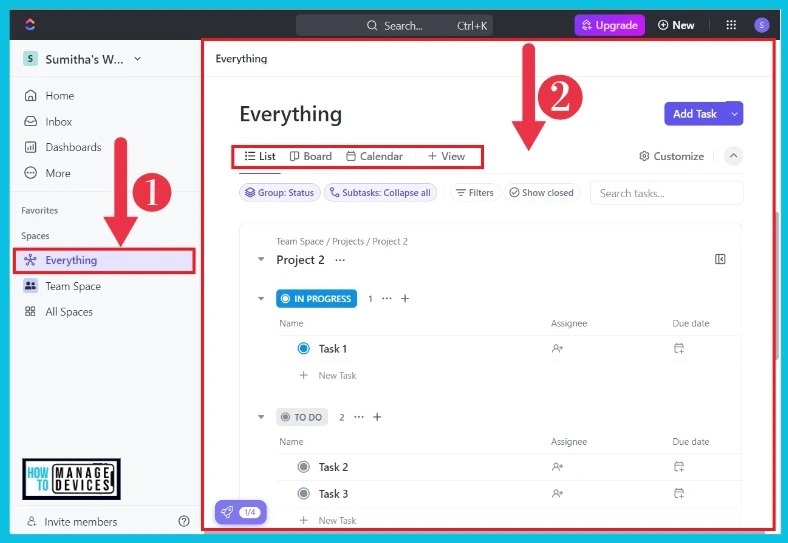
1. Everything
Everything shows the different types of projects that help you assign tasks to the members of your organization. The Everything window shows options such as List, Board, Calendar, and View. You can add and assign tasks from this window, and it also shows its progress and due date.
- List – Use List view to organize tasks in any imaginable sort, filter, group, and customize columns.
- Board – It helps to Build your perfect board and easily drag and drop tasks between columns
- Calendar – Calendar view is your place for planning, scheduling and resource management
- View – It shows options such as Timeline, Table, Mindmap etc
2. Team Space
The Team Spaces also shows different types of projects in ClickUp. You can create, move, duplicate, rename, and more in projects shown in the Team Space option. This window also shows the different tasks in Microsoft To-Do applications.
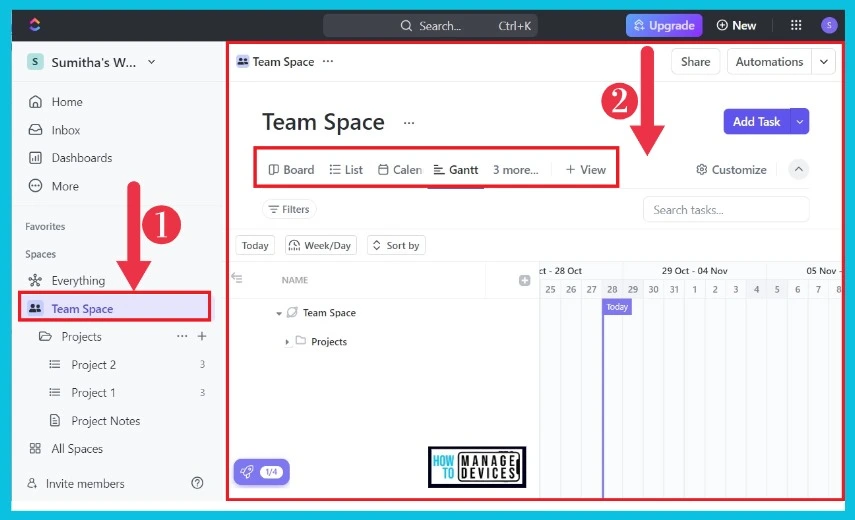
Projects in Team Space
The project in Team Space shows different projects in ClickUp. It includes options such as Folder settings and Create Lists, Docs and more. The following will give the details.
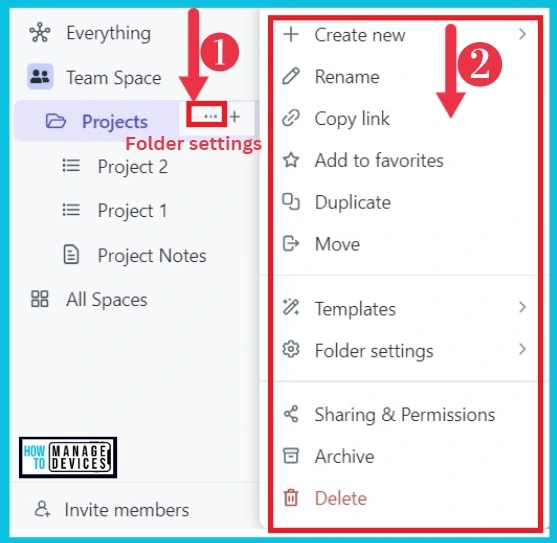
Folder settings
It helps you to see different options for creating your work and changing their names etc. Create new, Rename, copy link etc.
- Create new – It helps to create new
- Rename – It allows to rename the project
- Copy link – It helps to copy the link to the project
- Add to favourites – It helps to add projects to favourites
- Duplicate – It allows to select the duplicate project
- Move – It helps to move the project
- Templates – It shows templates
- Folder Settings – It includes folder settings
- Sharing & Permissions – It shows sharing & permissions
- Archive-It helps to archive project
- Delete – It helps to delete the project
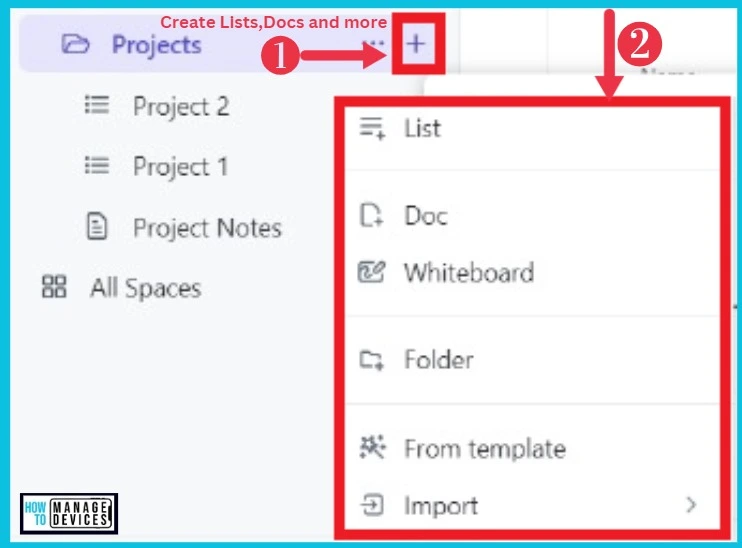
Create lists, Docs and More
It helps to work with different tools with ClickUp. It includes Lists, Docs, whiteboards, and folders are included. The table shows details.
| Create Lists, Docs and more | Used to |
|---|---|
| List | Use a List view to organize your tasks in any way imaginable sort, filter, group, and customize columns |
| Docs | It shows docs in the project |
| Whiteboard | It helps to add a Whiteboard |
| Folder | It helps to add a folder |
| From template | It shows templates |
| Import | It helps to import |
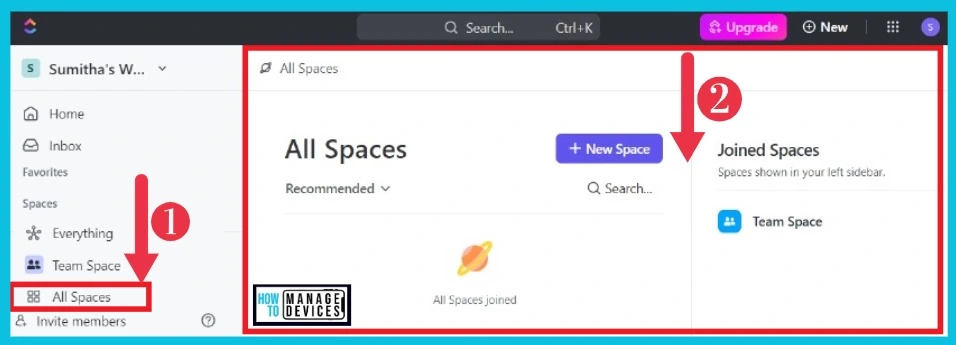
3. All Spaces
All Spaces help you to view all the details of workspaces in ClickUp. The details include recommended, date created, date updated, etc. You can also create new spaces from this window.
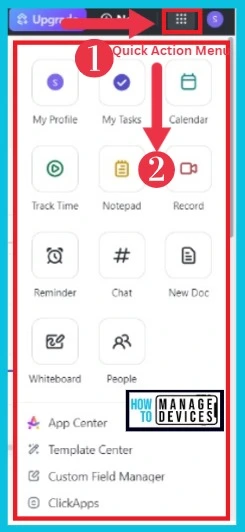
Quick Action Menu
The Quick Access menu offers handy shortcuts to customization features. The Quick Action Menu ClickUp Create tasks, reminders, Docs, and more from anywhere in your Workspace. It includes options such as My Profile, My Tasks, Calendar etc.
| Quick Action Menu Options | Used To |
|---|---|
| My Profile | It helps to see your profile |
| My Tasks | It used to see your tasks |
| Calendar | It helps to see all your work on the calendar |
| Track Time | It helps to track time |
| Notepad | It helps to notepad your work |
| Record | It helps to record your work |
| Reminder | It is used to make a reminder of your work |
| Chat | It helps to chat with others |
| New Doc | It helps to access new Doc |
| Whiteboard | It helps to add a Whiteboard |
| People | It helps assign tasks to people |
| App Center | It shows different apps such as Box, Dropbox, Figma etc |
| Template Center | It shows Workplace template, ClickUp Template, and Activity Log |
| Custom Field Manager | It shows options such as all custom fields and workspace |
| Click Apps | It includes settings, People, Teams, Spaces etc |
How to Assign a Task
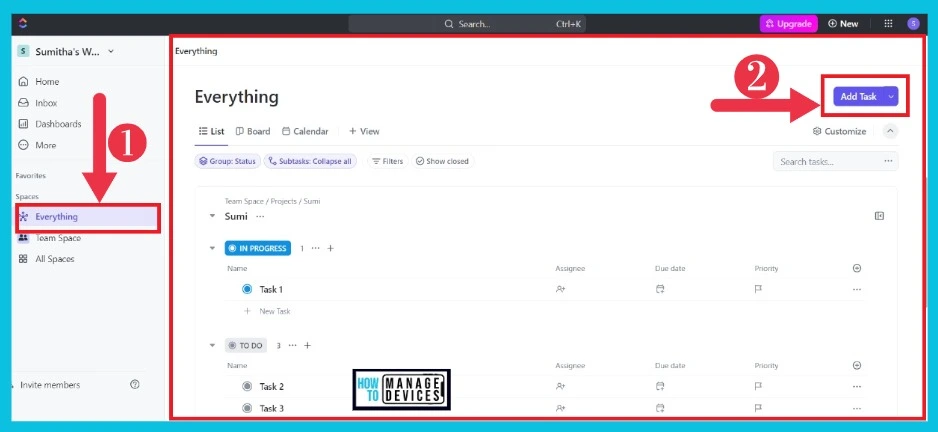
Everything option helps you to assign tasks to your team. For this, select the Everything option from the home screen of ClickUp. In this window, you can create tasks. Select the Add Task option to create a new task.
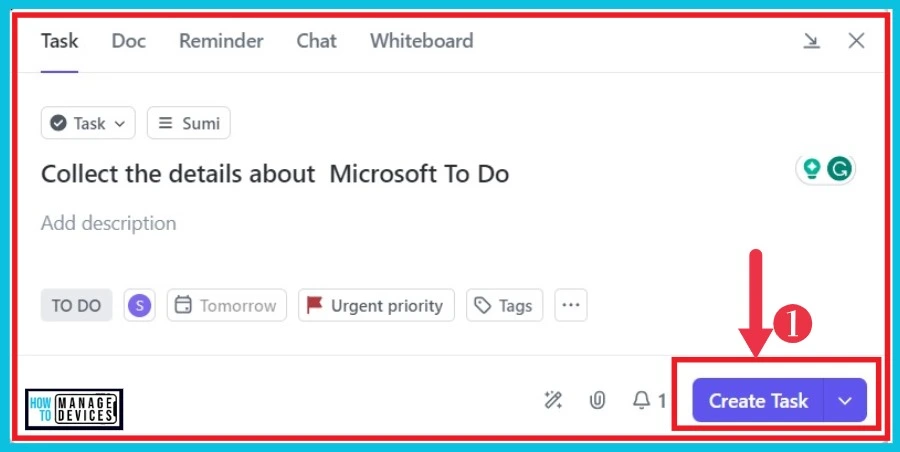
After clicking Add Task, you get a new window to create a new task. You can give task details like date, start and end of the day, provide a name for the task, etc and give a small description about the task if you want. Here I have given the task name “Collect the details about Microsoft To Do”.
After clicking the Create Task in the last window, you will get a new small window appearing with the name of the task. The screenshot below gives the details.
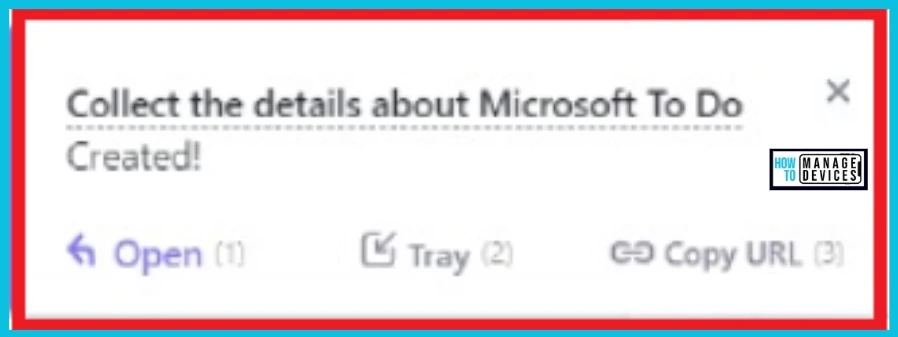
The below window gives full details about how you created the task and how it appeared in the end portion of the Everything page. The details include task name, assignee, due date etc.

Reference – Use the ClickUp desktop app
We are on WhatsApp. To get the latest step-by-step guides and news updates, Join our Channel. Click here HTMD WhatsApp
Author
Sumitha was introduced to the world of computers when she was very young. She loves to help users with their Windows 11 and related queries. She is here to share quick news, tips and tricks with Windows security.
